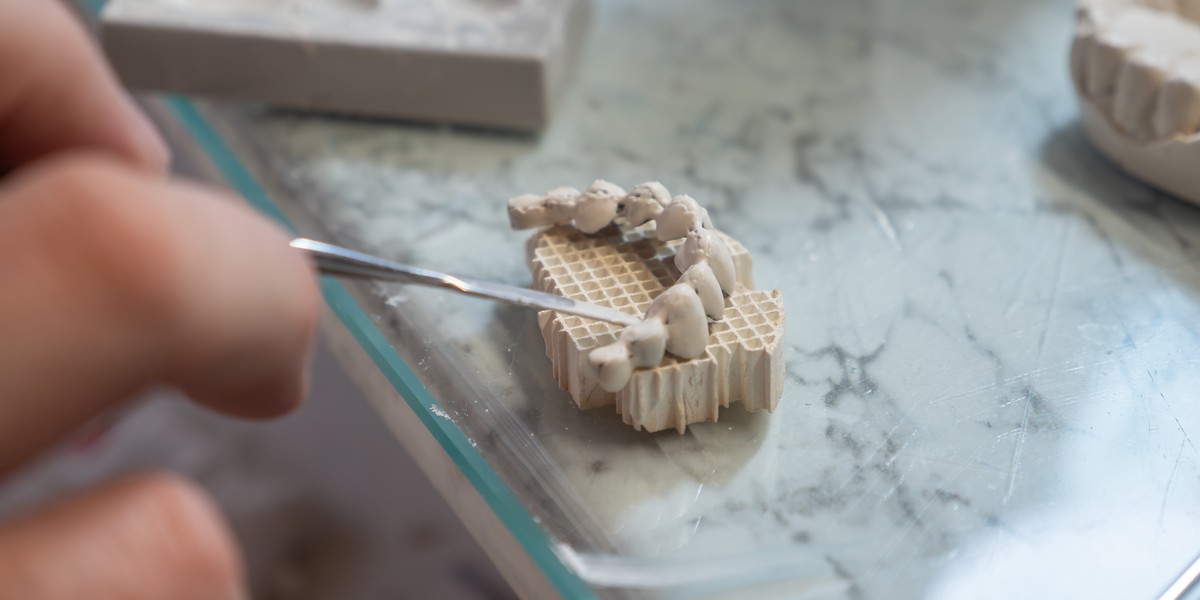
When you look at a finished dental restoration, it can be easy to assume that creating it is fairly straightforward. In reality, there is a lot of thought and precision involved before it reaches the patient. While crowns and bridges may seem similar on the surface, they present different challenges and need to be approached in different ways.
When it comes to crown or bridge restorations, a bridge has to work as one restoration while also fitting naturally within the mouth. This means there is more to think about during the planning and laboratory stages, and several details need to come together to achieve a good result. Even small differences can affect how the finished restoration looks, fits, and functions.
One restoration, multiple units
A crown is designed to restore one prepared tooth by sitting over the remaining tooth structure to recreate its shape, size and appearance, effectively giving the tooth a new outer surface. Because it is made for one single tooth, the restoration is designed entirely around that tooth and the space it occupies.
A bridge is different because it is often used to fill a gap where one or more teeth are missing. Rather than being a single unit, it brings several connected units together to form one restoration. This allows the replacement tooth or teeth to occupy the space as part of the same structure.
The number of units will depend on the area being restored and how many teeth are missing. A bridge may replace one missing tooth or span a larger gap where several teeth need to be replaced.
Put simply, a crown restores something that is already there, while a bridge replaces what is missing. A dental crown is centred on one existing tooth, whereas a bridge brings multiple units together to restore a larger section of the dental arch. This difference in overall structure is the starting point for understanding why the two restorations are made differently.
Working with abutment teeth
With a bridge, the abutment preparations need to be considered as a single system. Each preparation may be clinically sound on its own, but the dental laboratory also needs to account for how the abutments relate to one another. The shape, position and preparation design all influence how the bridge can be made.
Parallelism is particularly important because the abutments need to share a suitable path of insertion. Differences in angulation between preparations can affect how the restoration seats, so the laboratory needs an accurate understanding of the relationship between each abutment rather than working from one preparation in isolation.
Available space can also vary between the abutments. One preparation may provide more room than another, while differences in tooth position or reduction can affect the space available for the restoration. The dental laboratory has to work with these variations while maintaining a consistent design across the bridge.
This makes the relationship between the abutments an important part of the laboratory process. The bridge needs to accommodate several preparations at once, with each one contributing to the overall fit of the restoration. What works for one preparation cannot necessarily be applied to the others without considering how they interact.
Designing connectors and pontics
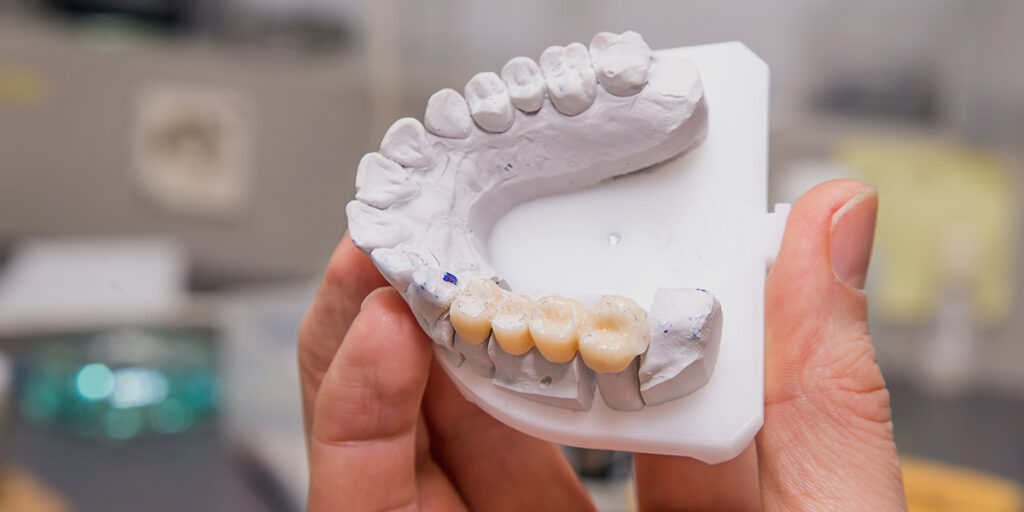
Connectors and pontics bring another level of detail to bridge design that is not needed with crowns. Since the connectors join the different parts of the bridge together, they need to be large enough to provide the required strength without being unnecessarily bulky. Their position also needs to work with the surrounding anatomy and the shape of the restoration.
The pontic has to replace the missing tooth in a way that looks and functions naturally. Its shape and relationship with the soft tissues are important, particularly around the tissue-facing surface. At the same time, the design needs to make the area accessible for cleaning and avoid creating contours or spaces where plaque can build up.
There are several points the laboratory needs to balance when designing these areas:
- Connector size: The connectors need enough bulk for strength while still fitting comfortably in the available space.
- Connector position: Their position needs to work with the pontic, supporting units, and surrounding anatomy.
- Pontic shape: The contours should suit the space being restored and create a natural-looking form.
- Tissue contact: The relationship between the pontic and soft tissues needs to be appropriate for the chosen design.
- Cleansability: The contours should allow the patient to clean effectively around and beneath the restoration.
- Strength: The overall design needs to withstand the forces placed on the bridge.
These features are all closely linked, so a change to one part can affect another. For example, altering the pontic shape may change the available space around a connector or affect how easily the area can be cleaned. The laboratory therefore needs to consider the connectors, pontics, and surrounding tissues together when developing the final bridge design.
Balancing function with aesthetics
A bridge needs to look natural, but it also needs to work comfortably as part of the patient’s bite. Occlusion plays an important role in this, as the finished restoration needs to sit correctly against the opposing teeth. Contacts also need careful consideration so the bridge functions properly without creating unwanted pressure or interference.
The shape and proportions of the replacement teeth also have a big impact on how the bridge looks. Their length, width and form need to make sense alongside the neighbouring teeth, rather than looking noticeably different. The bridge should also follow the existing arrangement of the teeth so that it feels like a natural part of the smile.
Shade matching is another important part of the finished result. The laboratory needs to look beyond the basic shade and consider features such as translucency and how the restoration compares with the natural teeth around it. Even small differences can become noticeable when the bridge sits next to several natural teeth, particularly in the visible areas of the mouth.
Getting the balance right means considering how the bridge will look and function once it is in place. A restoration can have good aesthetics but still need adjustment if it does not work comfortably within the bite. Likewise, a well-functioning bridge needs to blend with the surrounding teeth. The finished result should therefore bring both sides together rather than treating appearance and function as separate concerns.
The additional laboratory work behind a bridge
A bridge usually involves more planning and checking because several parts need to come together as one finished restoration. The process starts with accurate clinical information, whether this is provided through digital scans or physical impressions, to give the laboratory a reliable starting point for designing the bridge.
The restoration can then be planned using CAD, with the material selected based on the requirements of the case. Once the design is agreed, the bridge can be milled or manufactured before going through the necessary finishing and quality checks.
Good communication between the dentist and laboratory is important throughout the process. A clear prescription and accurate clinical information help the technician understand what is required. With a multi-unit case like a bridge, keeping communication clear can also help resolve potential issues before they can really affect the final restoration.
Putting precision into practice
At GoDigital Dental, we know that a bridge case is about more than simply producing a restoration to a prescription. Every case has its own clinical requirements, and our role is to turn the information from the practice into a restoration that is accurate, natural-looking and ready to fit into a patient’s wider treatment plan. Our experienced CAD team combines digital planning with careful hand-finishing to give each case the attention it needs.
We also believe that good results come from working closely with the dentist throughout the process. From checking scans and impressions before fabrication to discussing materials, design, or potential issues, clear communication helps keep the case on track. When it comes to potentially complicated cases like bridges, a strong partnership between a dental practice and laboratory can make all the difference in delivering a result that works for both the clinician and the patient.
FAQs
Which materials can be used for a dental bridge?
Dental bridges can be made from a range of materials, with the right choice depending on where the bridge will be placed, how much strength it needs and the appearance required. Common options include zirconia, lithium disilicate, porcelain fused to metal and metal alloys. Each material has its own advantages.
Zirconia is often chosen when strength is important, while lithium disilicate can offer a natural-looking appearance. Porcelain fused to metal combines a strong metal base with a tooth-coloured outer layer. Metal can also be used where durability is the main consideration. The dentist and laboratory can choose the most suitable material based on the needs of each individual case.
Can the dentist request changes to a bridge design?
A dentist can request changes to a bridge design when something needs to be altered to meet the clinical or aesthetic requirements of the case. This could include the shape, contours, contacts or overall appearance. The laboratory can then review the requested changes and adjust the design before manufacturing.
These changes are normally discussed between the dentist and dental technician, helping both sides understand what is needed. With a digital workflow, the design can often be reviewed before the bridge is made, giving the technician an opportunity to make adjustments at this stage rather than having to change the finished restoration.
What should I do if part of the bridge breaks?
If part of your dental bridge breaks, get in touch with your dentist as soon as you can and let them know what has happened. Try not to chew on that side, especially if the bridge feels loose or has a sharp edge. Avoid using glue or attempting to fix it yourself.
Keep any pieces of the broken bridge and bring them to your appointment. Your dentist can check the damage and decide whether the bridge can be repaired or needs replacing. If you have pain, swelling or irritation, contact your dentist promptly. This can help prevent further problems while you wait for treatment.