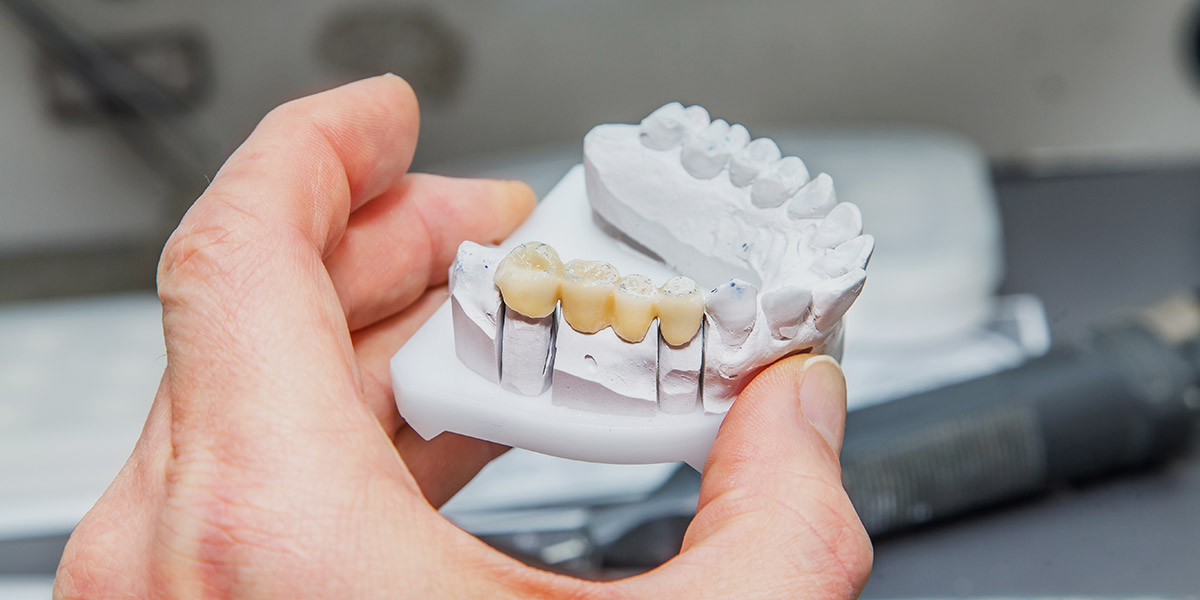
Creating a replacement tooth involves more than simply making something that fills a gap. The shape needs to sit comfortably within the existing dentition and work as part of the patient’s bite, while also fitting with the appearance of the surrounding teeth. Digital dental design gives technicians more control over this process before the restoration reaches the manufacturing stage.
The design can be adjusted and refined digitally, giving the technician a clear idea of how the finished tooth should look and function. This also provides a useful point of reference between the practice and laboratory, helping both sides work towards the same result before the restoration is made.
Looking at the shape of the surrounding teeth
A replacement tooth needs to look at home with the dentition around it. Rather than creating the tooth as a standalone shape, the technician needs to consider how it relates to the teeth beside it and the opposing dentition, which helps the finished restoration fit naturally into the existing arrangement of the teeth.
Digital impressions that include the neighbouring and opposing teeth can provide useful references when deciding on the size and proportions of the replacement. Their dimensions can help guide the width, height and length of the new tooth, as well as how these measurements relate to the teeth around it.
The existing teeth can also give the technician clues about the anatomy to recreate. Their contours and other anatomical features can be used as references when developing the shape of the replacement, while still allowing the design to be adjusted to the individual shape and dentition.
Every patient’s dentition is different, so there is no single tooth shape that will suit every case, and a digital design needs to reflect the proportions and characteristics already present in the mouth, rather than simply selecting a generic tooth form and applying it to the restoration.
Building the anatomy into the digital design
CAD software gives technicians a three-dimensional space to develop the shape of a restoration in detail. The tooth can be built up within the digital model and adjusted as the design progresses, allowing changes to its contours, depth and overall form. This makes it possible to work on the tooth as a three-dimensional structure rather than simply defining its outer outline.
The design can include anatomical features such as cusps, ridges, grooves, fossae, and developmental contours. These features can be adjusted individually and then refined where they meet, helping the different areas of the tooth flow together. Small changes to a contour or transition can alter the way the finished anatomy comes together.
These features are not simply there to make the tooth look more realistic. On posterior teeth, the occlusal anatomy has an important functional role, influencing how the restoration meets the opposing dentition during chewing. The relationship between the cusps, grooves, and fossae therefore needs to be considered as the anatomy is developed.
The digital model also gives the technician a practical way to check the design before manufacture. The restoration can be viewed from different angles, measured and adjusted as needed, making it easier to refine individual areas while the design is still on screen, allowing the planned anatomy to be checked and developed before it is produced.
Getting the contacts and contours right
Contact points are an important part of how a replacement tooth fits with the teeth beside it. They need to be positioned and shaped appropriately so that the restoration meets its neighbours as intended. Getting this right helps maintain the spacing between the teeth and the way they sit within the dental arch.
Contacts that are too tight can make seating the restoration more difficult and put pressure on the neighbouring teeth. If they are too open, food may become trapped between the teeth. The position of the contact matters too, as it needs to sit in the right place in relation to the surrounding tooth anatomy.
The emergence profile, which is the way the restoration transitions from the cervical area of the tooth towards the surrounding gingival tissues, also needs careful attention. The technician can use the shape of the adjacent teeth as a reference when developing this area, while adapting the contour to the space available.
Careful contouring helps the replacement tooth follow the existing shape of the dental arch. Rather than creating abrupt changes around the contacts or gingival area, the technician can refine these transitions within the digital design so the restoration fits more naturally with the teeth around it.
Designing around the patient’s occlusion
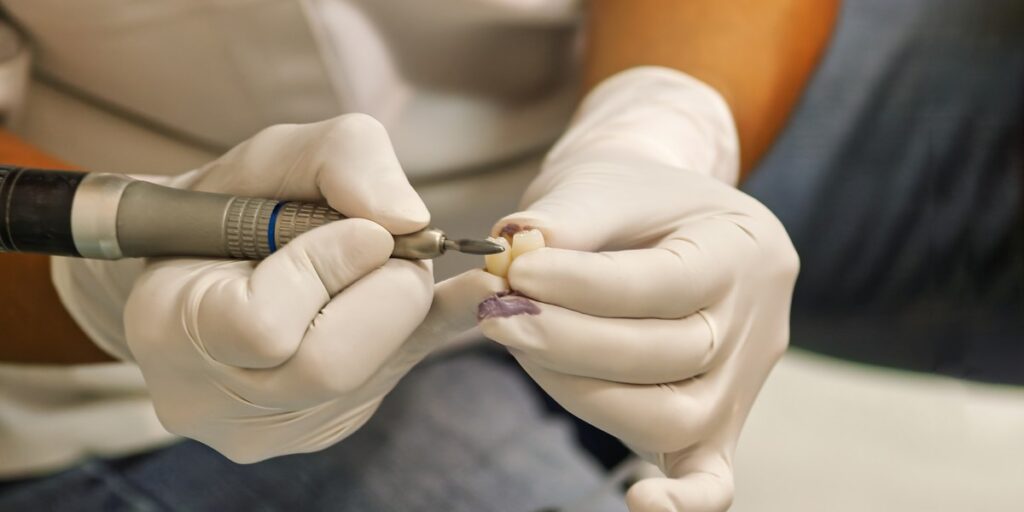
Occlusion is the way the upper and lower teeth meet when the patient bites and how they move against eachother. When planning a replacement tooth, the technician needs to work within this existing relationship. The aim is to create a restoration that fits the patient’s bite rather than changing it unnecessarily.
The opposing teeth can help guide the shape of the occlusal surface. Cusp height, groove position, and occlusal contacts may need to be altered to suit the way the patient’s teeth meet. This means the anatomy can be shaped around the individual bite, rather than using the same occlusal form for every restoration.
It is also important to consider what happens as the patient moves their jaw. A contour that appears suitable when the teeth are closed could still create unwanted interference during movements. The technician therefore needs to consider the contacts throughout the relevant movements and adjust the anatomy where necessary.
CAD software allows these relationships to be assessed before the restoration is manufactured. The proposed tooth can be viewed against the opposing dentition, making it easier to identify areas where the contours or contacts may need changing. These adjustments can then be made to the digital design before production.
Finalising the design, and what happens next
Before the design moves to manufacture, the technician brings all the different parts of the proposed tooth together and looks at how they work as a whole. The proportions, contours, anatomy, contact, and occlusion all need to make sense within the finished design.
CAD software makes it straightforward to make small changes and see how they affect the shape, without having to start again. As the shape is refined, CAD provides a clear view of the changes, helping the technician assess the effect of small adjustments on the overall form.
Before approving the design, the technician will check that it is both detailed enough for the intended result and practical to manufacture. This means considering factors like:
- Whether the overall tooth form is appropriate for the restoration
- Whether the anatomical detail can be reproduced accurately
- Whether the contours and transitions are suitable for manufacture
- Whether the final design retains the required functional features
- Whether any further adjustments are needed before production.
Once these checks are complete, the digital design becomes the blueprint for manufacturing the restoration. The final shape has been established before production begins, giving the manufacturing process a clear design to work from. CAD provides the tools to view, measure, and adjust the tooth, but it is the technician’s knowledge and judgement that determine how the final design is developed.
| Area | What the technician looks at | Why it matters |
| Proportions | Width, height, and length | Helps establish the overall form |
| Anatomy | Cusps, ridges, grooves, and fossae | Builds the tooth’s anatomical detail |
| Contacts | Position and relationship with adjacent teeth | Helps the restoration sit correctly within the dentition |
| Contours | Shape around the cervical and gingival areas | Helps create a suitable transition into the surrounding tissues |
| Occlusion | Relationship with the opposing dentition | Allows the restoration to work with the patient’s bite |
| Manufacture | Whether the planned form can be reproduced | Ensures the design is practical to produce |
Creating a restoration designed to work as a whole
Creating the shape of a new tooth is a process of bringing many small decisions together. The final design needs to make sense within the wider dentition, from its overall proportions through to its anatomy, contacts and occlusion. Digital dental design gives the technician greater control over these details, allowing the proposed restoration to be viewed and refined before it reaches manufacture.
For dentists, this means the restoration has already been carefully considered at the design stage, rather than leaving its final form to be determined during production. At GoDigital Dental, we combine digital workflows with technician expertise to develop each design around the restoration being created. The technology provides the tools, but it is the technician’s judgement that turns the available information into the final tooth design.
FAQs
Can digital design be used for single-tooth restorations?
Digital design can be used for a single-tooth restoration, with the replacement designed around the space and teeth already present. The technician can develop its size, shape and anatomy to suit the individual case, rather than simply using a standard tooth shape. This helps the restoration fit into the existing dentition.
The design can also take the opposing tooth and the patient’s bite into account. CAD software allows the technician to view the proposed restoration and make adjustments before it is manufactured. This makes it possible to refine the tooth digitally, helping ensure its shape and position are suitable for the individual restoration.
What happens if the digital design does not fit the available space?
If a digital design does not fit the available space, the technician can adjust it before the restoration is manufactured. The size, contours or position can be changed within CAD software, allowing the tooth to be refined without producing a restoration that does not suit the case.
The revised design can then be checked against the surrounding and opposing teeth to see how the changes affect the fit. If something still needs adjusting, the technician can refine the shape again. This allows potential problems to be dealt with during the design stage, before the restoration moves into manufacture.
How can the dentist communicate changes to the laboratory?
Dentists can communicate changes to the laboratory by sending clear instructions with the relevant digital files. Notes can explain what needs changing, while scans, photographs or other information can help the technician understand the case. Providing this information from the outset gives the technician a clearer idea of the dentist’s requirements.
If changes are needed while the design is being developed, the dentist and technician can discuss what needs adjusting before manufacture. Digital workflows make it easier to share updated information and designs between the practice and laboratory. This gives both sides an opportunity to check the proposed changes and agree on the final design.