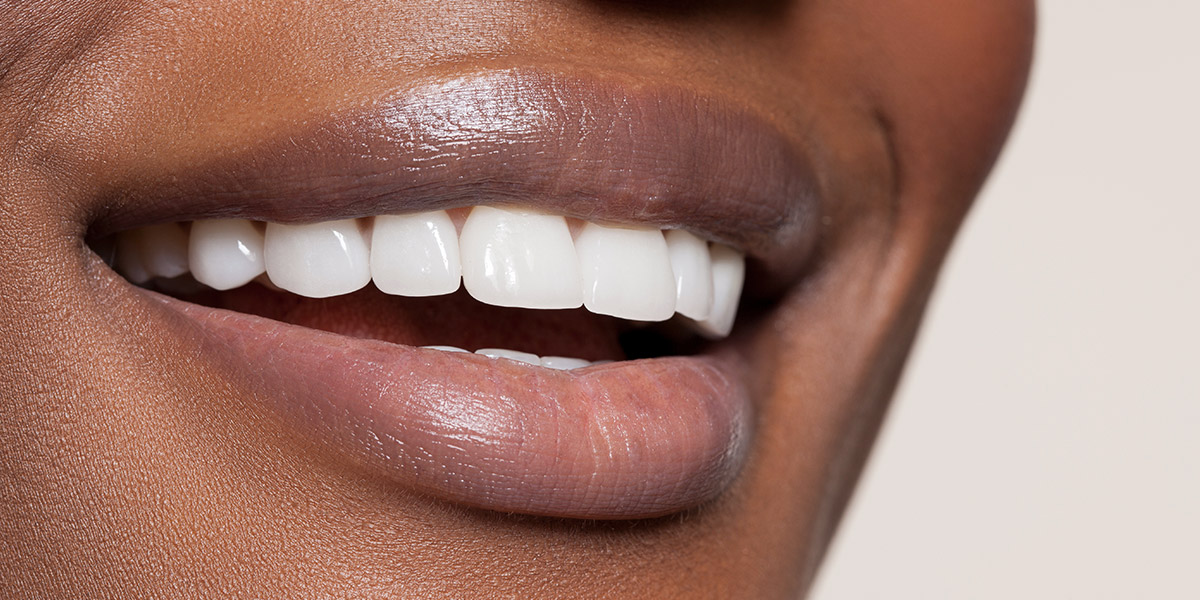
Getting the right shade for veneers sounds simple but, in reality, it’s one of the trickiest parts of cosmetic dentistry. Even small differences in colour can make a veneer look either totally natural or completely out of place.
Patients often expect a perfect match straight away, but shade matching is influenced by far more than just choosing a colour on a guide. Lighting, surrounding teeth, materials, and even how the eye sees colour can all affect the final result, and what looks right in the surgery can look very different once the veneers have been fitted.
There are several hidden factors that can cause shade matching to go wrong, even when everyone involved is experienced and careful.
How shade matching guides work
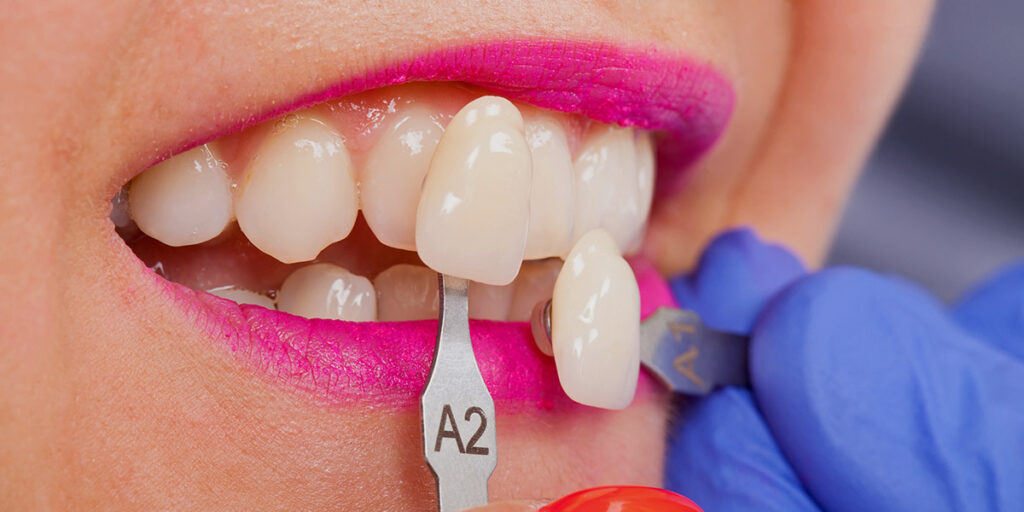
Shade matching guides are used in dentistry to help choose the colour of a veneer or crown. They contain a range of small tooth samples, each with a slightly different shade. These are usually arranged from light to dark, and sometimes grouped by tone as well.
The dentist compares these samples to the patient’s natural teeth to find the closest match. Because different light sources can change how colours appear (natural daylight, for example, can show more detail than artificial lighting), this is done under controlled lighting.
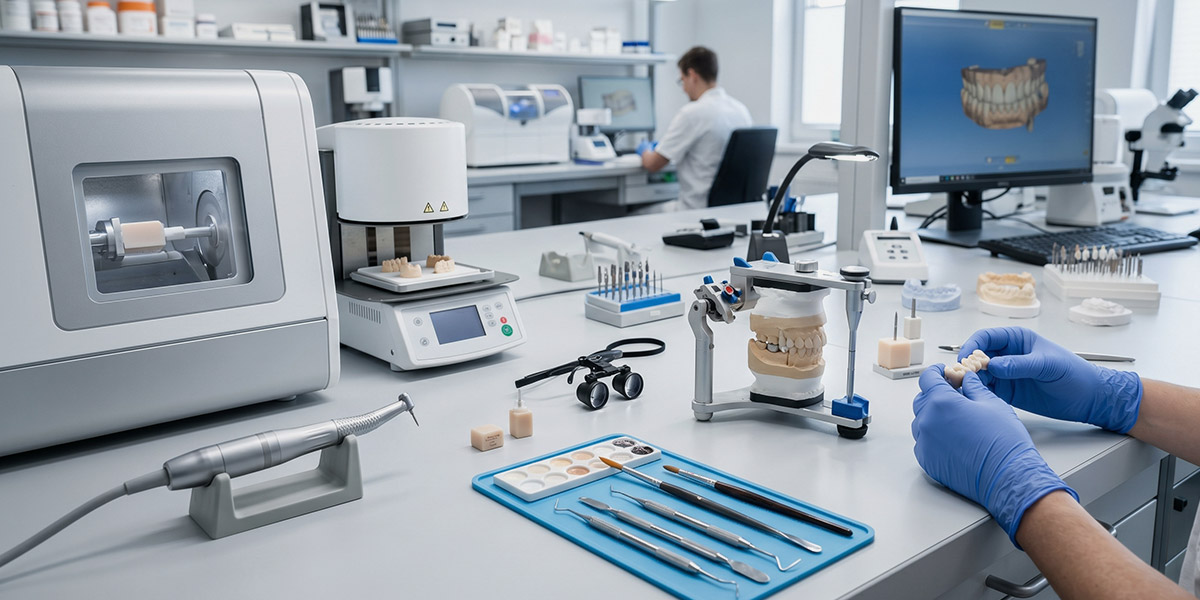
At GoDigital Dental, we use both the Vita Classical and Vita 3D Master shade guides. These are widely used in dentistry and provide a standard set of shades to compare against natural teeth.
| Shade guide | About | Best used for |
| Vita Classical | 4 colour families of 16 standard shades | General and restorative dental work |
| Vita 3D Master | Over 26 shades, grouped by value, chroma, and hue | Cosmetic work that demands a high level of precision |
The impact of lighting conditions on shade perception
Lighting plays a big role in how tooth colour is seen. The same tooth can look slightly different depending on the light source, which can easily affect shade selection.
Operatory lights are often very bright and clinical, which can make teeth appear lighter or more uniform than they really are. Natural daylight is usually a better reference, but it changes during the day, so the appearance of a shade is never completely fixed.
LED lighting adds another layer of variation to colour perception. Cooler lights can make teeth look greyer or bluer, while warmer lights can make them look yellower. Even small changes in the room’s lighting can shift how a shade is perceived.
In practice, lighting conditions often change without anyone noticing. A shade might be chosen under one type of light and then checked again later under another, which can lead to subtle, but important, differences in judgment that then impact the final veneers.
Photography pitfalls
Clinical photography is widely used to support shade selection, with the images then being sent along to the lab to design and produce the veneers. However, small technical errors can easily distort how tooth colour is recorded, so any inconsistency can lead to a mismatch.
Common reasons for error in clinical photography include:
- Auto white balance altering the true tooth colour
- Overexposure making teeth appear lighter than they are
- Underexposure hiding subtle shade details
- Incorrect use of polarisation reducing clarity of enamel structure
- Strong or coloured backgrounds affecting perceived shade
- Inconsistent camera settings between appointments
- Differences in screen calibration between clinic and lab
- Compression or resizing of images reducing colour accuracy
Even when the clinical work itself is accurate, a shade that looks correct in person may appear slightly different in a photo, especially if lighting or camera settings are not fully controlled. These small photographic issues can change how the case is interpreted and, over time, this can lead to confusion as the lab tries to match what was originally selected.
Consistency is key. When photography standards vary between appointments or between the clinic and the lab, it becomes much harder to maintain reliable shade communication.
Biological and material variables
Tooth colour can change during treatment, which makes shade selection less predictable than it first might seem. One of the main reasons is dehydration. When a tooth is prepared, it is exposed to air and can temporarily lose moisture, which makes it look lighter than its natural state. If the shade is taken at this point, it may not reflect how the tooth normally appears.
The underlying tooth, often called the stump shade, also has a strong influence on the final result. Even with a well-made veneer, the colour underneath can affect how the restoration looks once it is fitted. Darker or more opaque stump shades can show through, especially if the veneer material is thin or more translucent.
Timing plays a key role as well. If shade selection is done before preparation, the tooth is usually in a more natural, hydrated state. If it is done afterwards, dehydration can slightly alter perception and lead to a lighter shade being chosen without it being obvious at the time.
The materials used for veneers also have their limits. Some are better at covering darker underlying teeth than others, but none of them completely block out what is underneath. Because of this, even small changes in the natural tooth can still show through and affect how the final veneers look.
Digital miscommunication
A lot of shade matching now relies on digital communication between the clinic and the lab, but this can easily introduce small errors.
One of the main problems is that screens are not always calibrated in the same way. As a result, the same image can look slightly different depending on whether it is viewed on a clinic monitor or a lab computer.
The viewing environment also plays a part. A photo checked under bright clinical lighting can appear different when it is later viewed in a dimmer lab setting, or on a screen with warmer or cooler tones. These small differences can subtly change how colour is judged without it being obvious.
Communication can also be too vague. Descriptions like “a bit lighter” or “slightly warmer” may make sense at the time of conversation, but they leave room for interpretation once the case reaches the technician. Without clear wording that everyone can understand and interpret correctly, small misunderstandings can lead to visible shade differences.
Finally, if both sides are not using the same references or standards, things become even more inconsistent. When guides, photos, or protocols are not aligned, each person may be working from a slightly different picture of what the final result should look like.
Making sense of shade matching
Veneer shade matching is rarely a simple, direct choice. Because it sits somewhere between technical skill and human perception, results can vary even though everyone involved has lots of experience.
A lot depends on how well each step of the process is kept the same. When the approach is steady from start to finish, there is less chance for small changes that can affect the final look. Even small improvements in routine and communication can help create more consistent results.
In the end, it helps to see shade matching as a process rather than a single decision. Once that is understood, it becomes easier to see why small differences happen and how they can be better managed.
FAQs
Does the shade of veneers change after they are fitted?
Once a veneer is fitted, its shade stays the same because the material itself doesn’t change colour over time. What can change is how it looks depending on the situation. Different lighting and the teeth around it can make it appear a bit lighter or darker to the eye in daily life.
The natural tooth underneath and the gum line can also play a part, especially with thinner veneers. Even though the veneer doesn’t change, small differences in the mouth or how it’s being viewed can make the shade seem slightly different in photos or certain lighting conditions at various times.
Is there a best time of day to take a shade?
There is no strict rule, but many clinicians prefer to take a shade earlier in the day when natural light is more even. This can make it easier to compare teeth against shade guides, as lighting is often clearer and less affected by artificial changes in the room. It also helps reduce small shifts in perception that can happen when conditions are less stable.
Later in the day, lighting conditions can vary more, and the eyes can become less reliable after long periods of work. Because of this, earlier appointments are often chosen to help keep shade selection as consistent and accurate as possible within the clinical setting.
How do dentists decide between two different shades?
When two shades are very close, dentists place both options next to the natural teeth and check them under steady lighting to help them pick out small differences in lightness, tone, and how well each shade matches the nearby teeth. Shade guides and clinical photos are often used together to help make a clearer comparison.
The choice also depends on how the final material will look once it is made and fitted. Dentists think about how the shade will interact with the tooth underneath and how it will appear in the mouth. Input from the dental lab or a trial fit can also help confirm which option looks most natural overall.