Modern restorative dentistry is now strongly shaped by the use of advanced technology, both in clinics and dental laboratories. Work that was once driven by manual methods and limited communication between dentists and technicians is now supported by linked digital systems used daily in practice settings.
As these technologies continue to evolve, they are raising expectations for precision, coordination, and consistency across dental teams today. Understanding how these parts fit into modern restorative dentistry gives important context for the processes behind dental restorations around the world today.
Benefits of a digital workflow
A digital workflow can support everyday clinical and our dental lab work at GoDigital Dental by improving how information is handled and shared. It helps create a more structured way of working, where everyone knows exactly how each stage of a case should be managed, making routine tasks easier to organise and supporting better case management overall. Key advantages of digital workflows in dentistry include:
- Better accuracy in dental impressions
- Faster communication between dental practices and laboratories
- More consistent results across repeated restorations
- Easier storage and access to patient records and scans
- Reduced need for physical impressions
- Clearer planning and visualisation of treatment outcomes
All of these combine to create a more coordinated approach across dental teams. With clearer information flow and more reliable records, it becomes easier to maintain consistency across treatment stages and reduce variation in outcomes over time.
Scanning
The first stage of a digital dental workflow involves using a digital scanner to capture detailed images of a patient’s teeth and surrounding structures in the mouth. This replaces traditional impression methods that can be awkward and uncomfortable and creates a precise digital model of the mouth.
The scanner is usually a small handheld device that is moved around the teeth to record surface details and builds a 3D image in real time on a computer screen. This allows the clinician to review the scan during the appointment and ensure all the areas we need have been captured.
Once the scan is complete, the digital scan forms the basis for all further steps in the workflow, providing a clear and accurate starting point for planning and producing the final restoration.
Design
The design stage is where the digital scan is used to create a model of the planned dental restoration. Specialist software is used to look at the scan in detail and shape the restoration so it fits the patient’s mouth correctly.
The form, size, and position of the restoration are adjusted to match the surrounding teeth and bite. The CAD software allows for careful control of small details, helping ensure the final design will meet expectations for both function and appearance.
Once the design is finished, it is saved as a digital file ready to be used in the next stage of the dental laboratory workflow.
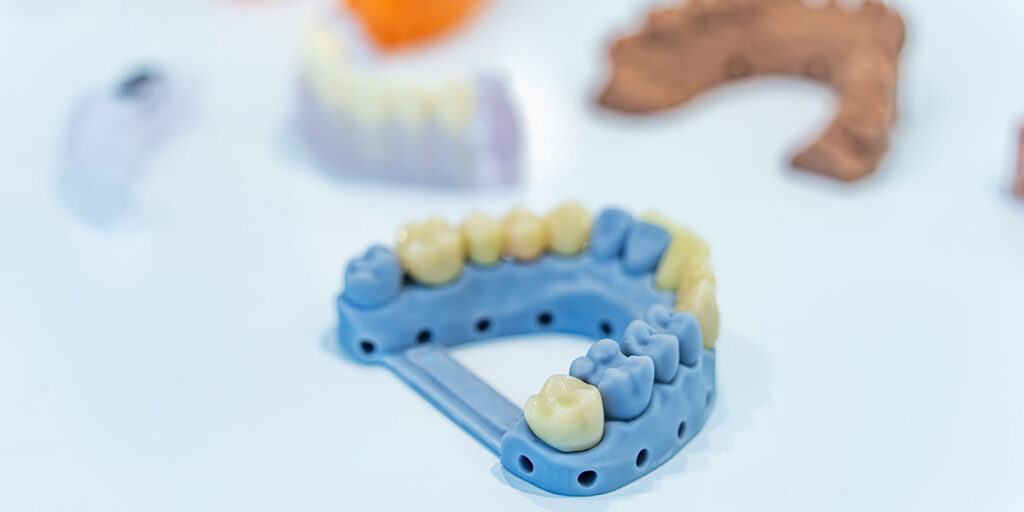
Manufacturing
This is the point where the digital design becomes a physical dental restoration. During manufacturing, specialised equipment like milling machines and 3D printers follow the digital file to produce the final shape of the restoration.
The equipment carefully builds or carves the restoration to match the exact measurements from the design file. Materials that might be used include ceramic, resin, or metal, depending on what is being made and where it will be positioned in the mouth.
The physical restoration is then checked to make sure it matches the intended specifications before moving on.
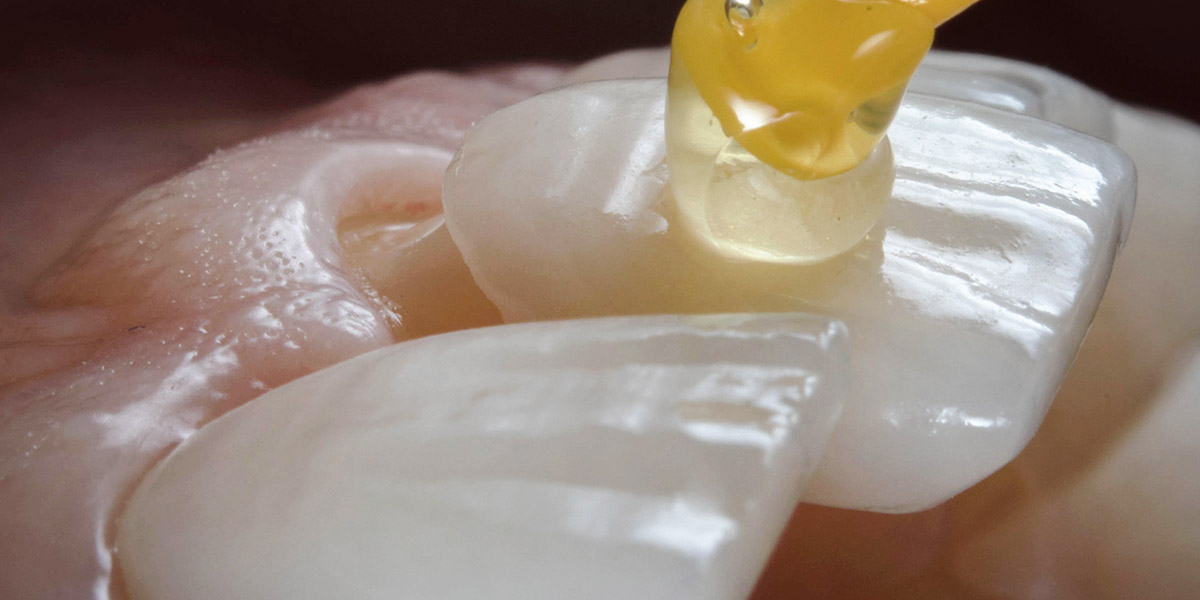
Ceramics
In some cases, ceramics is included after the main manufacturing process, often in cases when a restoration needs additional aesthetic work or layering to give it a more natural appearance.
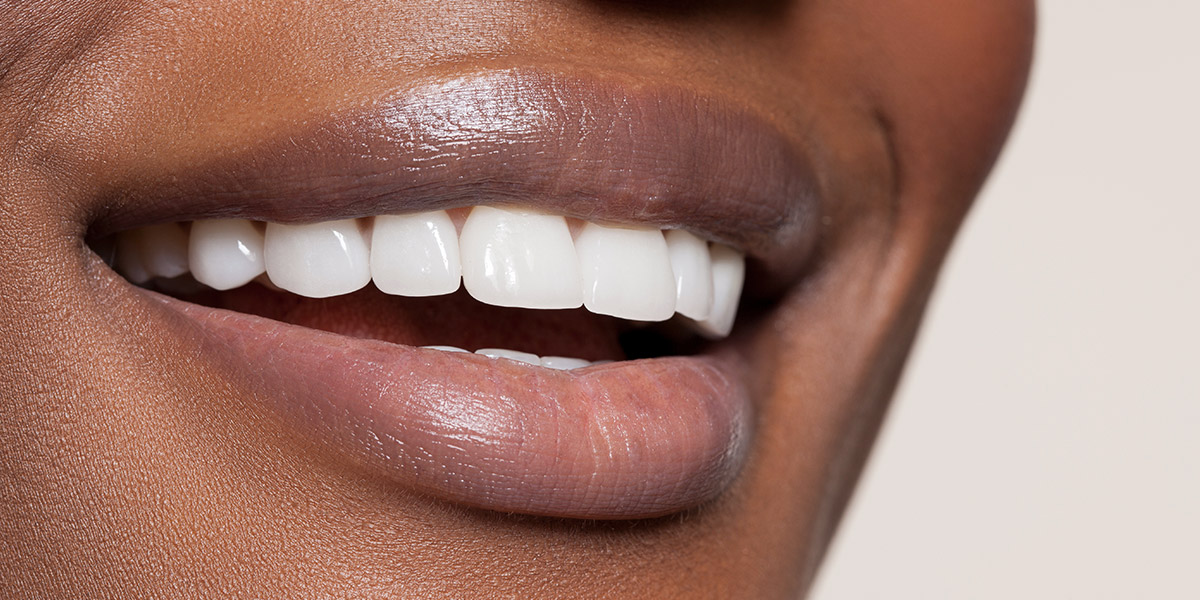
Ceramics are commonly used for restorations such as crowns, veneers, bridges, and some implant-supported teeth to refine colour, shape, and surface detail, so the final result blends more closely with the surrounding teeth.
During this stage, technicians build ceramic layers onto the restoration by hand, applying and shaping in thin coats and matching shades using colour guides. The restoration is then hardened in a furnace, once or multiple times, to build depth. Finally, the surface is refined and polished to make it look even more natural.
This step is not always needed, as some restorations are finished directly after milling or printing. It depends on the material used and the clinical requirements of the case.
Delivery and fitting
The final stage is when the finished restoration is returned to the dental clinic and fitted for the patient.
During the appointment, the clinician positions the restoration and assesses how it fits with the surrounding teeth and bite. If needed, small adjustments might be made to improve comfort and alignment. The aim is to ensure the restoration sits correctly and functions as intended.
Once the fit is confirmed, the restoration is fixed in place and rechecked to ensure it is stable and properly aligned.
After this, the workflow is considered to be complete.
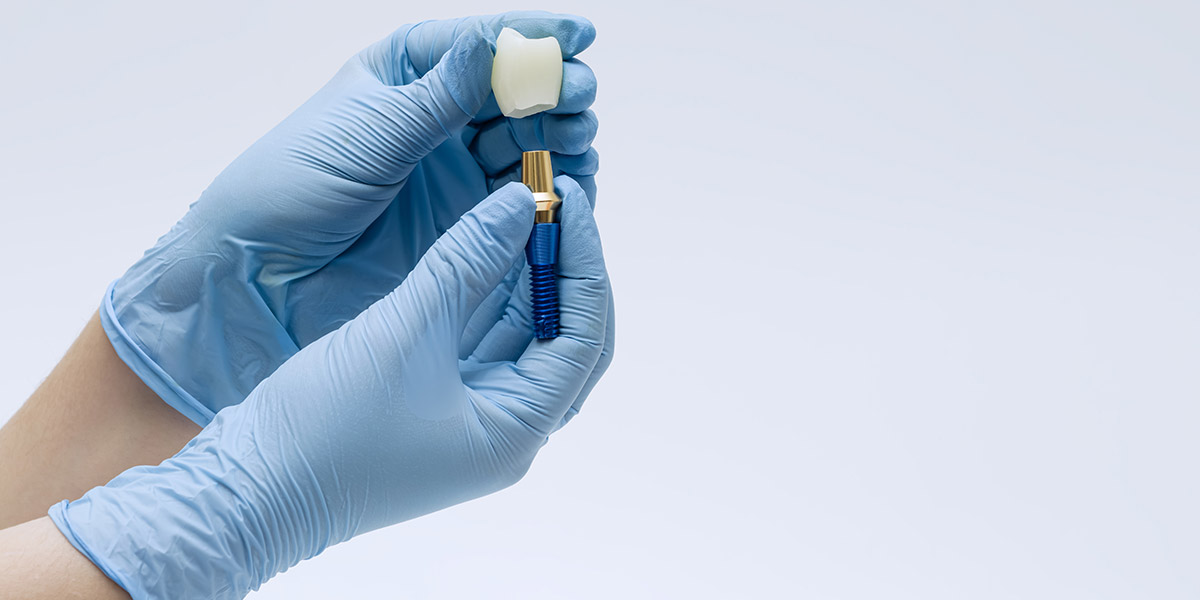
Dental implants
The digital workflow for dental implants follows similar stages to the above, but includes some additional steps to support accurate placement and long-term stability. Extra planning is needed because implants are placed within the jawbone, so positioning must be carefully controlled.
In implant cases, digital scans are often combined with 3D imaging, such as a CBCT scan of the bone structure, to assess available space and bone quality. This information is used to plan the exact position, angle, and depth of the implant before any design or production begins.
A digital surgical guide may also be designed and produced as part of the workflow to help the clinician place the implant in the correct position during surgery.
After the implant is placed and has healed, a separate scan is usually taken to design the final restoration that will be attached to the implant. This helps make sure the crown or bridge fits properly with the surrounding teeth and the implant itself.
Repairs and remakes
Repairs and remakes also follow a slightly different workflow because they are based on an existing restoration, rather than starting from a full new plan.
The process begins by reviewing the original design and scan data to understand what needs to be changed or corrected. In some cases, a new scan of the patient’s mouth or existing restoration is taken to help capture the current situation and make sure any adjustments are accurate.
The design stage focuses on modifying specific issues, such as fit, shape, or contact with surrounding teeth, rather than creating a full restoration from scratch. Once the updated design is finished, the restoration is manufactured again using the revised digital file.
Finally, the new restoration is checked before being sent back for fitting.
Get the benefits of a digital dental workflow for your practice
A digital dental workflow brings structure to each stage of treatment, from the first scan to the final restoration. It supports clear communication between dentists and technicians whilst helping to maintain consistency across different case types.
By using digital tools throughout the process, dental teams can manage work more efficiently and have better control over planning, design, and production. A digital approach also makes it easier to adapt to different clinical needs, including complex treatments and repeat cases.
As digital methods continue to develop, they are becoming a standard part of modern dental practice and laboratory work, delivering better-connected patient care. At GoDigital Dental, we work with practices to help implement and support digital workflows, making it easier to embrace the power of digital dentistry.
FAQs
What equipment is needed to start using a digital dental workflow?
To start using a digital dental workflow, a practice needs an intraoral scanner to capture digital impressions and a computer with suitable software that will allow them to view and manage scan data. A stable internet connection is also important for sharing files with dental laboratories and storing records securely.
For a laboratory looking to switch to digital dentistry, equipment and tools needed include design software for creating restorations and manufacturing tools such as milling machines or 3D printers, along with secure storage solutions to manage digital files over time. Some may also choose to get 3D imaging systems for more advanced cases.
How accurate are digital impressions compared to traditional ones?
Digital impressions are generally very accurate and can capture fine surface detail of teeth and soft tissues. They reduce the risk of distortion that can occur with traditional materials, such as movement during setting or removal, and the ability to review scans immediately also helps ensure that all the areas that need to be captured are done so correctly.
Traditional impressions can still provide reliable results, especially in certain clinical situations. However, they rely significantly more on technique and material handling, which can mean that there are slight variations each time. In contrast, digital methods offer more consistency across repeated scans, supporting predictable results when used correctly within the digital dental workflow.
Do all dental laboratories use digital workflows?
Not all dental laboratories use digital workflows, although many have adopted them in recent years. Some laboratories still rely on traditional methods, especially for certain types of restorations or where digital equipment has not yet been introduced into their processes.
Many laboratories now use a mix of digital and traditional techniques depending on the case. Digital workflows are more common in laboratories that work closely with modern dental practices and receive digital scans, allowing them to design and produce restorations using computer-based systems and equipment.