Digital workflows have brought new levels of accuracy and teamwork between clinics and labs. When everything fits together well, it leads to faster turnaround times, better-fitting restorations, and more reliable results for patients. At the centre of this is clear and consistent communication.
Labs work best when they get the complete and accurate information they need quickly. With the right details to hand, a dental lab can focus on refining fine points, improving aesthetics, and delivering high-quality results without needing to go back and forth with a dentist and slowing everything down.
Understanding what labs really need from the start reduces uncertainty and supports a simpler, more confident approach to every restoration. Making small, but impactful, changes helps create smoother cases and helps both sides work at their best.
What is an STL file?
An STL file is a standard digital file format that is used to represent the shape of a 3D object. It does not include colour, texture, or material information, focusing solely on the geometry of a surface.
The shape in an STL file is built from a huge number of small triangles, with each one connecting to others to form a complete outer surface. The more triangles that are used for a shape, the more detailed and smooth it will appear overall.
Each individual triangle is defined by three points in space, and a direction that shows which way the surface is facing. When connected, these triangles create a mesh that shows the form of an object in 3D.
STL files are widely used because they are simple, consistent, and supported by many different types of CAD/CAM software within a dental laboratory. They provide a clear way to describe shape without adding any extra unnecessary data.
How dental labs use STL files
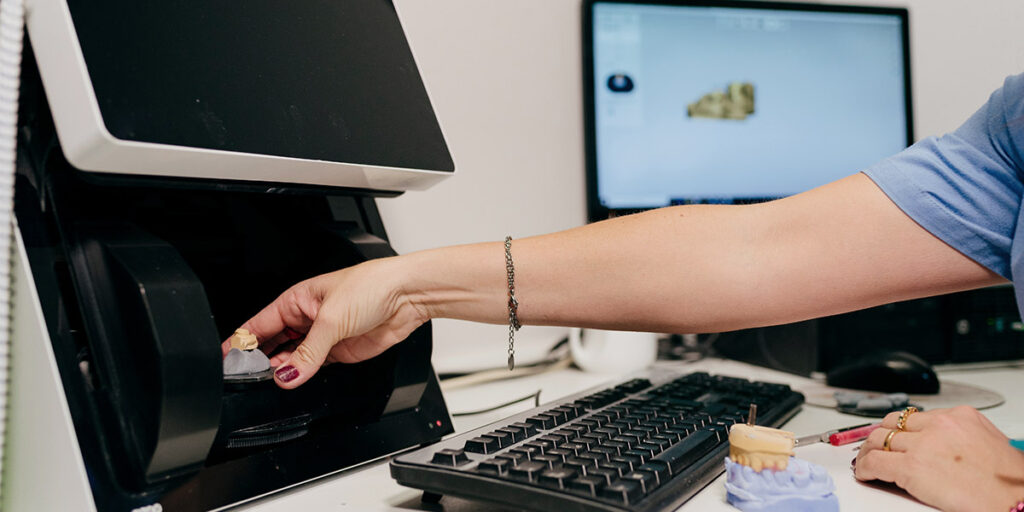
Dental labs like GoDigital Dental use STL files as a digital model of a patient’s teeth and surrounding structures. The file provides a clear 3D model that technicians can open, turn, zoom, and look at in detail on a screen.
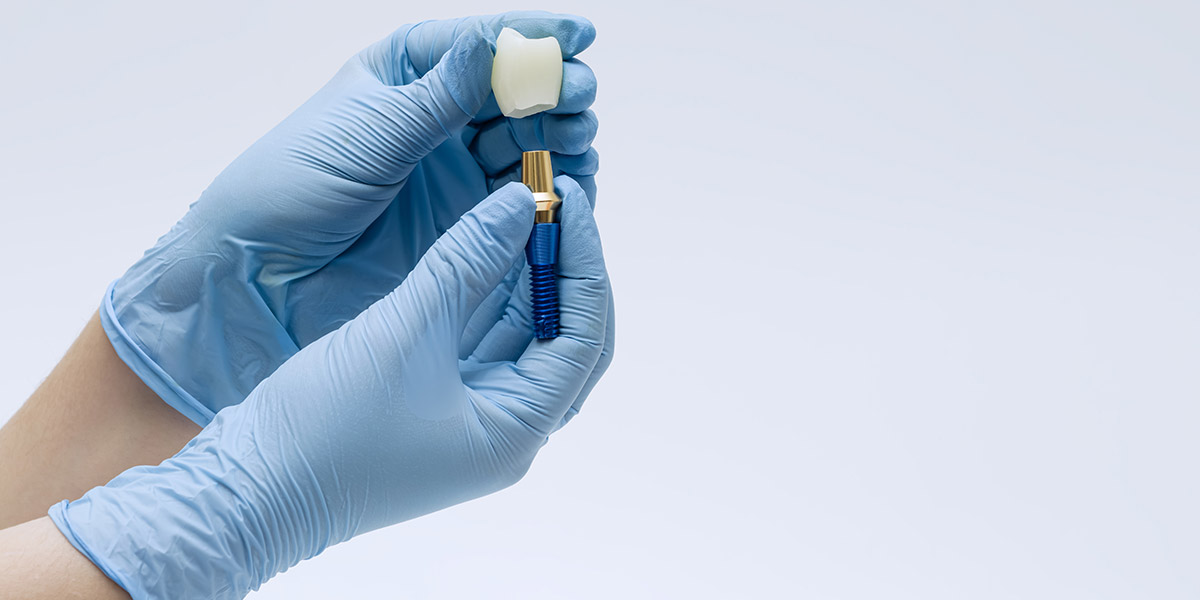
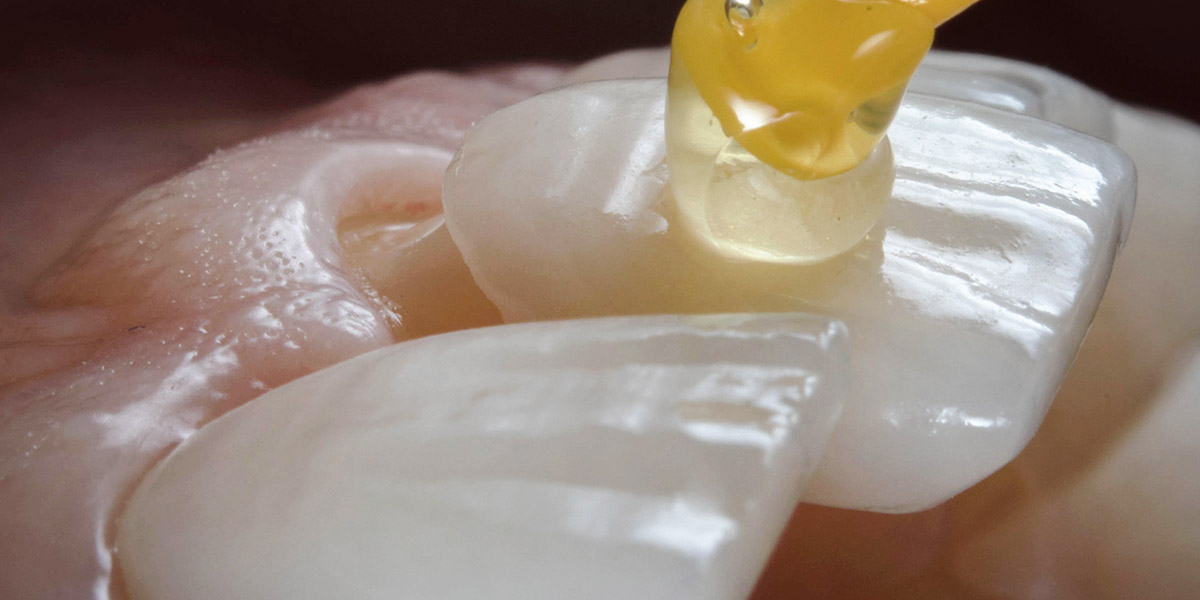
Using this model, technicians design restorations like crowns, bridges, dental implants, inlays, and onlays in CAD software, where the STL file acts as the base reference for setting margins, adjusting contacts, and shaping the bite. It also helps technicians check spacing, the path of insertion, and overall anatomy before the design is finalised.
Once the design is complete, either the same file or an updated version is used to make the restoration. This may involve milling from a solid block of material or 3D printing a pattern or model, depending on what specific restoration is being made.
Because STL files are consistent and widely supported, they help technicians move smoothly from design to production in a digital workflow while maintaining accuracy and repeatability.
The process of sending STLs to GoDigital Dental
Sending STL scans to GoDigital Dental is simple and straightforward. Each step helps make sure the information is clear, complete, and ready to be used without causing any confusion.
Step 1 – Capture the scan: Start by taking a digital scan of the prepared tooth or, in the case of restorations like dental implants, the area of the mouth where the final restoration will be placed. Make sure all relevant surfaces are recorded clearly, including margins and surrounding teeth, especially those that will be used as anchor teeth for restorations like bridges.
Step 2 – Check the scan: Review the scan before you take any next steps. Look for gaps, rough areas, or missing data, and don’t be afraid to rescan if you need to in order to get a more accurate image.
Step 3 – Prepare the case details: Add the details our technicians will need for the case, like the type of restoration needed and any specific instructions. The clearer the details, the quicker we’ll be able to move the restoration along our workflow!
Step 4 – Export and upload: Export the scan as an STL file from the scanning software, making sure the right files are selected and clearly labelled so we will be able to identify them easily. Upload the STL file and case details through our digital portal, and make sure they have been sent successfully.
Following these steps helps create a clear and consistent workflow. Well-prepared scans and complete information help make communication easy and ensure each stage runs smoothly from start to finish.
Common errors, and how to avoid them
Even with a clear digital workflow, some issues are more common than others, so being aware of them makes it easier to prevent them from happening and keep cases running smoothly.
One of the most common issues is incomplete scan data, when parts of the preparation, adjacent teeth, or gingival areas are not fully captured during scanning. As a result, it can lead to gaps in the digital model, making it harder to assess shape and relationships between different structures in the mouth.
How to fix it: Check the scan carefully before moving on and rescan any areas that look unclear or incomplete, making sure all key surfaces are fully covered.
Unclear margins can make it difficult to define the exact edge of a preparation. It often happens when the margin is not fully exposed, is covered by soft tissue, or is not clearly visible in the scan. Without a clear margin line, it is harder to interpret the true finish line of the tooth.
How to fix it: Ensure the preparation is clearly and fully visible, free from anything that could block the view during scanning, and take extra time and care to capture the margin from lots of different angles, if needed.
Low scan quality can happen if the scanner moves too quickly, loses tracking, or does not maintain a consistent distance from the surfaces. The outcome of this is rough, patchy, or noisy surfaces that are difficult to interpret.
How to fix it: Follow the scanner’s recommended technique and use a steady, consistent scanning path, making sure everything is covered and key areas are not rushed.
Sending the wrong file or leaving out part of a case can cause confusion about what is needed from us. This includes exporting an older scan, missing a section like a quadrant, choosing the wrong file version, or not adding important details about the case, including the type of restoration, material choice, or any clinic notes.
How to fix it: Check that the correct files have been chosen and are clearly named before exporting, and make sure all key case details are included so everything is clear before submission.
Paying attention to these points helps support a more consistent digital workflow and keeps each stage of the process clear and well-structured
Get your STL files right first time!
High-quality STL files are the foundation of what we do at GoDigital Dental. When files are clear, complete, and well-prepared, it helps each case move forward simply and efficiently, with fewer questions along the way.
Taking time to capture accurate scans, add full case details, and keep files clearly organised helps ensure we can work from the best possible starting point, supporting more consistent planning and better overall results.
A few simple habits at the chairside can make a big difference once the STL files reach us. With the right approach, each case becomes easier to manage and better aligned from start to finish.
FAQs
What is the easiest way to organise scan files?
The easiest way to organise scan files is to use a clear and consistent naming system. Each file should include simple details like patient ID, date, and scan type. Short, specific names make files easier to find and reduce confusion when handling multiple cases. Using separate folders for each patient or case also helps keep everything in order.
It also helps to follow the same structure every time you save files. Keep upper and lower scans, bite scans, and notes in clearly labelled folders, and get into the habit of regularly removing old or unused files to keep things tidy, as this makes it quicker and easier to find any scan when needed.
Can I fix a scan after I have exported it?
Once an STL scan has been exported, it cannot usually be edited in most scanning software. The file is a final version of the captured data, so changes normally require going back to the original scan. If parts are missing or unclear, the best option is to rescan those areas before exporting again.
Some software allows small adjustments, but it cannot replace missing data so, if there is a bigger issue, rescanning is the most reliable way to fix any issues. Checking the scan before export helps reduce the need for changes later and keeps the workflow more consistent and efficient.
Do I need to scan the whole arch every time?
Scanning the whole arch is not always needed and depends on the case. For single tooth work, only the area around the prepared tooth and nearby teeth is usually required. As well as helping keep scans quicker and more focused while still capturing the information needed for design, it also makes it easier to manage files and reduces unnecessary data.
For larger or more complex cases, a full-arch scan may be needed to show the full bite and relationships between teeth accurately. Following the scanner guidance for each case type helps ensure the right areas are captured for accurate planning and a smooth workflow.