
Step 2: CAD CAM Dental Laboratory Services
by GoDigital Dental
Welcome back to our series, where we take you behind the scenes of crafting high-quality dental restorations. In this stage, we move from case intake to our in-house digital design and fabrication.
In Step 2: CAD/CAM, we focus on the digital heart of laboratory services. This is where precision meets innovation. Using the latest technology, we scan, design, and mill dental restorations. Skilled technicians work with advanced software to create accurate digital models, ensuring each restoration is tailored to the patient’s unique anatomy.
This step bridges the gap between concept and creation, playing a vital role in delivering consistent, high-quality digital dentistry results.
Why CAD/CAM is such an important department in any dental laboratory
The CAD CAM dental laboratory department plays a vital role in ensuring precision, efficiency, and consistency across all aspects of dental restoration.
With advanced equipment and highly trained technicians, this department combines expertise and knowledge to design restorations that fit accurately and function seamlessly. This level of precision reduces chair time for patients and helps practices run more smoothly.
From single crowns to complex implant cases, the CAD/CAM dental laboratory team supports every stage of the workflow, ultimately contributing to a better patient experience and a confident, natural-looking smile.
Let’s now look at how we do things at GoDigital Dental.
Before work for the day starts
The day starts with the CAD team leader checking in with the dental lab team to identify any cases needing support or those on hold for over a day. If the team has spare capacity, they offer help to the ceramics department. The team leader then allocates their own workload. Overnight prints are removed from the printer, cleaned, and passed to the ceramic team.
Once all cases are assigned, the CAD team begins their day. The leader catches up on WhatsApp messages, replies to emails and liaise with the ceramic team leader to address any issues. Cases with further correspondence are updated on the ticket and logged in Labtrac to keep everything on track.
Downloading digital files from the IOS portal
Files are downloaded from the IOS portal, with scanners such as Trios, iTero, CS Connect, DS Core, Medit, Shining 3D, and Dexis used daily. We also accept scanned files through our online dentist portal for added convenience.
Each case is assessed by a CAD dental technician, who checks for accurate scan data in key areas including margins, contact points and occlusion. They also review the accompanying ticket to ensure all necessary information is provided. If anything is missing, such as tooth notation, shade or full prescription details, particularly for large wax-up or implant cases, the technician will contact the dentist.
While WhatsApp is used for general communication, the official prescription must be completed on the IOS ticket. It is important that all information is included when the case is submitted, as missing details can delay it from being moved into production using Exocad software.
What about impressions?
With the rise of digital scanning, traditional impressions are no longer necessary for most cases. Intraoral scanners capture highly accurate data without the mess, discomfort or delays associated with conventional impression materials. This digital workflow not only improves patient experience but also allows for faster turnaround times and more precise results from the very start of the process.
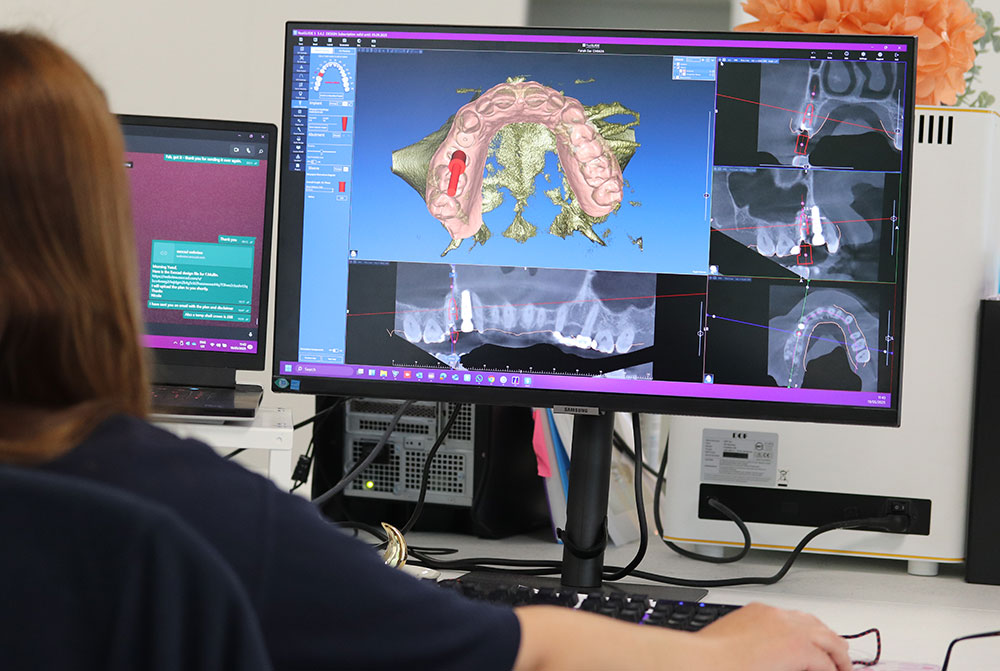
Using advanced technology to design dental products
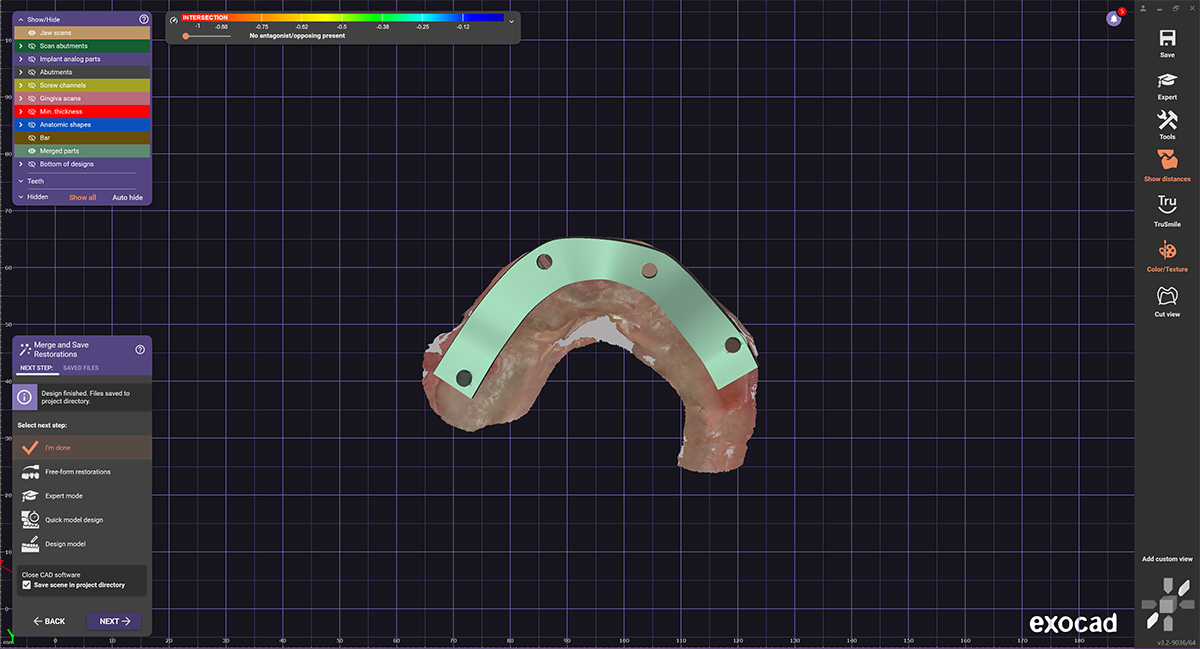
Once the technician is confident that all necessary information is present, they begin designing the case. For more complex work, the team might liaise with the dentist via WhatsApp, sharing the Exocad file to ensure both parties are aligned during the review process. In some instances, a Zoom meeting may be suggested to allow changes to be made collaboratively and in real time.
Careful attention is given to accurately plotting the margins on the preparation. If there is any uncertainty, clients will be contacted to confirm the margin position.
All cases are digitally articulated to ensure the correct excursive jaw movements are captured before the design begins. The Denar digital articulator is typically what we go for, although other systems are also available for use within the dental industry.
The software initially generates a generic design, which can then be customised using a more bespoke library to better blend with the existing dentition.
The technician carefully adjusts the position of the restoration to ensure the crown fits the correct occlusion in order to achieve the best results for excursive movements. In some cases, especially with anterior teeth, the technician may copy or mirror the adjacent tooth to achieve a more natural and harmonious result.
What dental products might we be designing?
A dental laboratory in general might design things like dentures (including denture repairs and partial dentures), crowns and bridges, implants, as well as custom-fit mouthguards for sports or patients who grind their teeth.
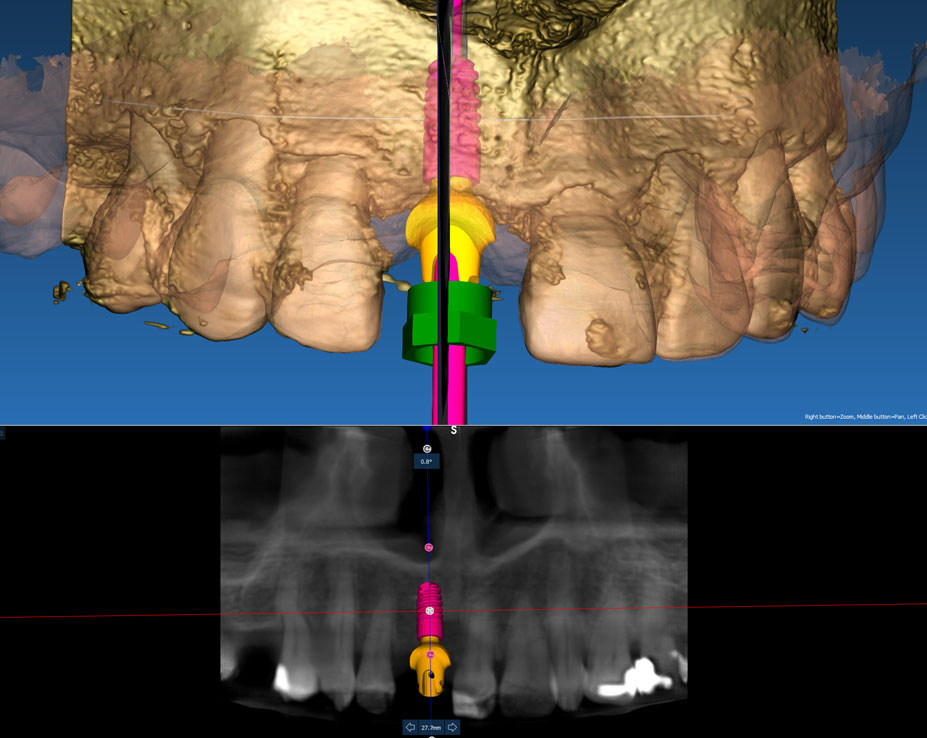
At GoDigital Dental, our CAD team focuses on designing dental implants and crown and bridge work.
Implant cases often involve custom abutments and carefully planned frameworks to ensure both function and aesthetics. Crown and bridge restorations are tailored to fit precisely, restoring the patient’s bite and appearance with accuracy.
The majority of restorations we create are screw-retained, as per our clients’ requests. We make these mainly by utilising the TiBase solutions from the implant manufacturer. These are manufactured to be either straight or angled and are available in many heights and gingival depths.
If an implant has a more severe angle or has been placed beyond the depth of a TiBase, we will design either a custom abutment for a screw-retained crown, if preferred, or we can design a custom screw retained TiBase. These are a great way to restore an awkwardly placed implant.
For larger or full-arch cases, we work very closely with our dentists to select the correct components, and are more than happy to have a Zoom call to go through our selection decision. There are many ways to restore a dental implant in a digital way, which is one of the reasons we love digital dental technology; it takes out the guesswork and stress associated with the more traditional workflows.
Using the very best dental technology, each design is based on the clinical information provided, ensuring the final result meets both the dentist’s specifications and the patient’s high standards.
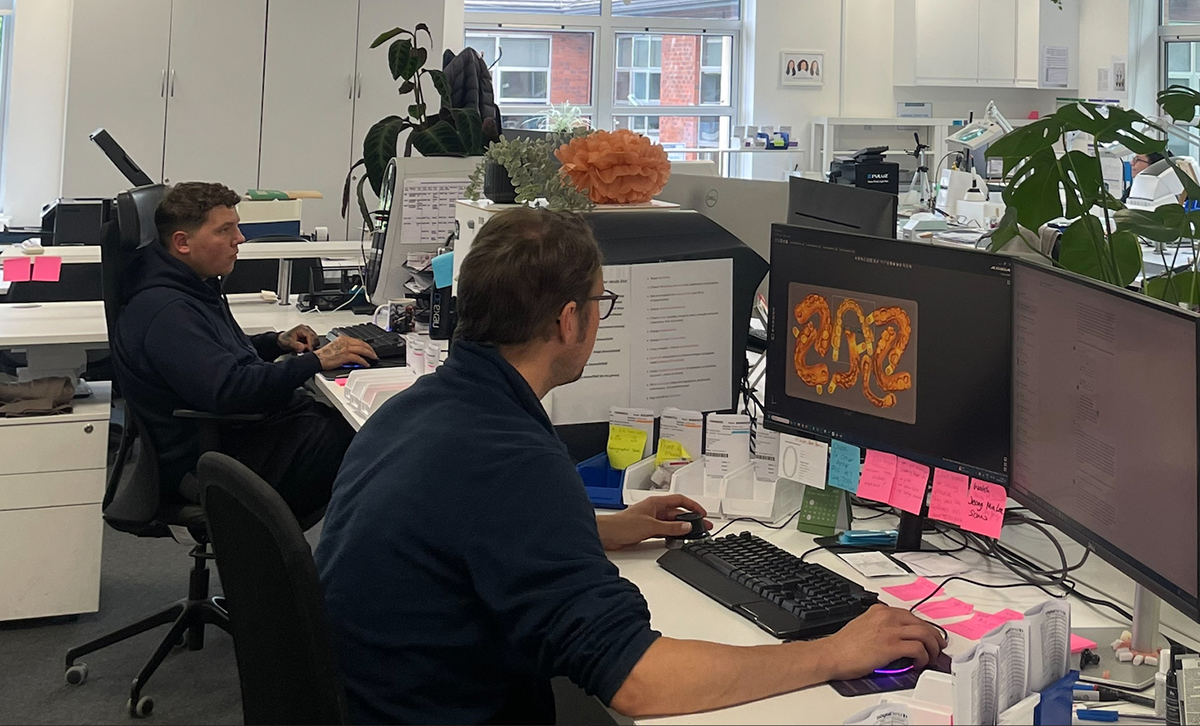
Moritz
Moritz is one of our CAD/CAM technicians here at GoDigital Dental.
As a highly skilled CAD/CAM technician, he plays a key role in transforming digital impressions into precise, custom-made dental restorations. His attention to detail and commitment to accuracy ensure that every crown, bridge, or implant component produced in our lab meets the highest standards of quality and patient comfort.
Moritz is not only technically proficient but also highly adaptable, keeping pace with the latest advances in dental technology. His expertise with design software and milling systems allows us to deliver outstanding results consistently, supporting both clinicians and their patients with confidence.
A typical day for Moritz
After the initial team meeting for the day, where cases are discussed and assigned, Mortiz’s day usually includes:
- Downloading files from the IOS portal
- Assessing scan data to check for accuracy on the vital areas, and checking the ticket to make sure they have all the information they need
- Contacting the dentist if there is any information missing
- Designing the case, paying particular attention to plotting margins
- Digitally articulating all cases to ensure correct jaw movements before designing the crown
- Adjusting the base design the software has generated for occlusion or mirroring teeth for natural aesthetics
- Sending the design off to the milling centre once complete
- Designing and printing models, as well as implant stents and PMMA materials for temporaries and try-ins
Input from ceramics and the patient
There are times when the CAD team involves the ceramics department, usually for anterior cases that require a high level of aesthetic detail. The CAD technicians seek guidance on complex cases and ask for advice when shade selection is unclear or when photos include multiple shade tabs that could be mismatched.
If the shade of the final product is not clearly specified, the team will always request clarification from the dentist before sending the restoration to the mill, as guessing the correct shade is very difficult.
In some instances, the patient will attend the lab for a shade match. The case is worked on as far as possible, but then placed on hold until the patient’s shade can be confirmed. Once the shade match is completed, the CAD team can finalise the design and send the case off for milling.
Milling
Once the design is complete, the STL file for ceramic cases is sent to our trusted external milling partner. The milled restoration typically returns to the lab within three working days. We work closely with this partner, who stays up to date with the latest materials and technologies, ensuring a high-quality result.
For implant cases, this stage also includes ordering the necessary components from the relevant implant company. If we are not connected to the dentist’s implant account, the order will be placed through our GDD account, and an additional charge will be added to the final invoice.
Porcelain bonded work requires 10 working days, which is essential due to the labour-intensive nature of the ceramic process and cannot be shortened.
Metal-based restorations
Metal-based restorations follow a different process. Cases using non-precious alloys are sent to a separate milling centre, where the restoration is produced through a sintered process rather than traditional milling. This can take up to five working days.
Gold work is also outsourced but follows the traditional lost-wax technique. The STL file is printed in wax, then burned out and cast. Gold is costed monthly and may vary depending on current market prices. We can produce alloys in 20%, 40%, or 60% gold content, depending on the specific requirements of the case.
Designing The Model
The model is created from the restoration design file, with simple pins added for articulation. In most cases, we produce quadrant models rather than full arch models, as the bite has already been established and captured in the IOS data and incorporated into the CAD design. Typically, we print a solid model along with a separate die to allow the ceramics team to check the margins. For anterior or larger cases, we always print a full arch model, still using the simple pin system to confirm the bite for the ceramic department.
3D Printing
Accurate model printing is essential to ensure restorations fit precisely at the margins, in contact areas, and occlusally. In some instances, we work model-free, following a modeless workflow. For these cases, we have collaborated closely with our dentists to refine CAD parameters, making sure they are fully satisfied with the fit and function before transitioning away from physical models entirely.
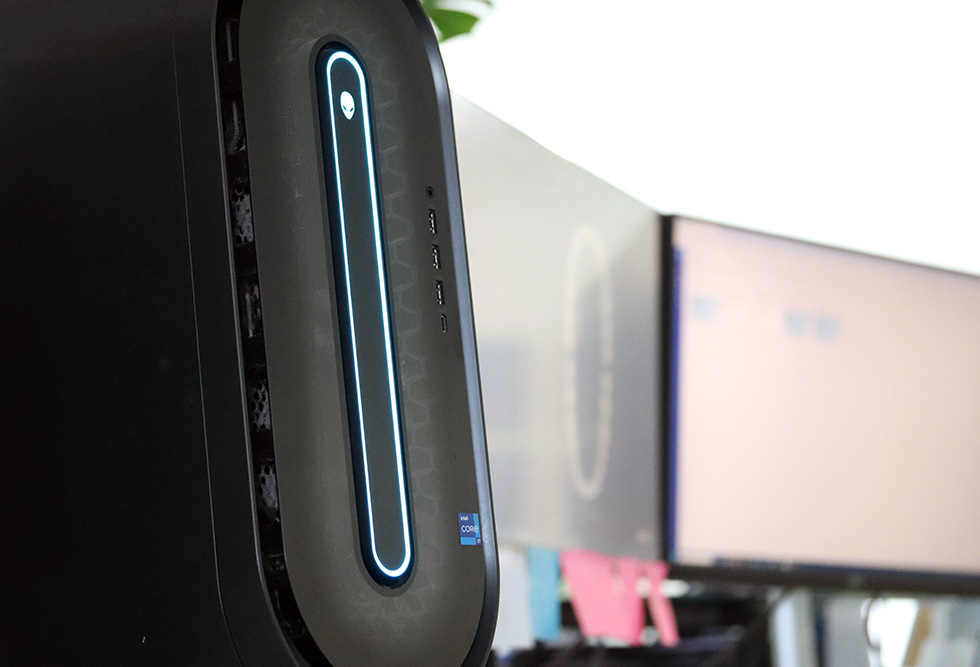
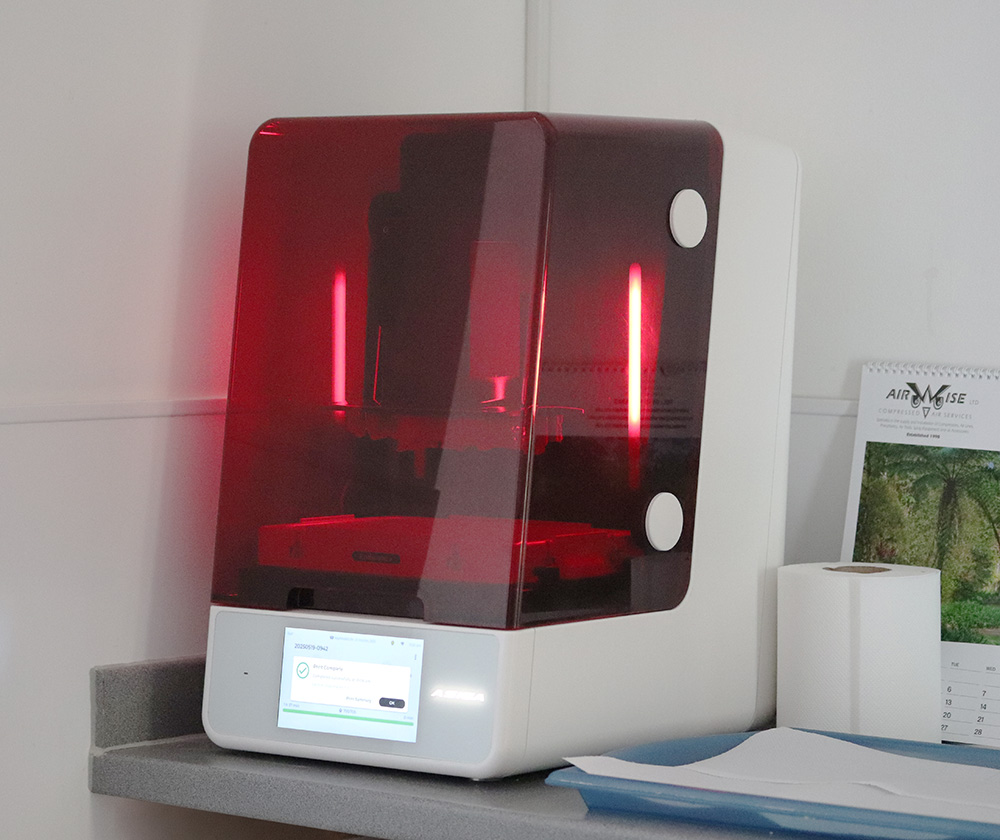
Once all design files have been sent for milling, the case moves into the CAM area for 3D printing. We currently operate four printers in this department: two Asiga Max 3D printers, one Asiga 2 UV, and one Nexa printer.
The Nexa is primarily used for printing models, while the Asiga printers are more versatile, producing a range of items including models, small soft tissue models, implant stents, and PMMA material for temporaries and try-ins. These try-ins are often used for implant cases or crown and bridge work that require further verification before final production.
We have always chosen to work with 3D printers that are compatible with a wide range of resin manufacturers. This flexibility allows us to select the best available materials on the market, ensuring high-quality results across all applications.
Previous step
Front of House
Where everything begins. This area plays a critical role in managing incoming cases, organising documentation, communicating with dental practices, and setting timelines in motion.
Next step
Ceramics
Once all components from CAD are complete, the case is moved to the ceramic area, where it will wait for the ceramic work to return from the milling centres.
By partnering with GoDigital Dental, you are gaining a team that’s invested in your successful move to digital dentistry. Let us help elevate your practice and deliver outstanding results for your patients.
Get in touch today and receive a complimentary consultation.
Customer Reviews
SEND A MESSAGE
hello@godigital-dental.com
GoDigital Dental | Dental Lab
6 Millennium Way West
Nottingham
NG8 6AS