Sending scans to dental lab partners is now a routine part of digital dentistry, yet the process still varies widely between practices. A smooth workflow depends on accurate digital impressions, correct export settings, reliable transfer steps and clear communication with the dental laboratory.
This guide follows the whole journey of intraoral scans from capture to upload, helping dentists and their teams create a consistent, efficient process that supports high-quality patient outcomes throughout the UK.
Choosing the correct intraoral scanner settings
Selecting appropriate scan modes
The first step in sending scans to dental lab systems is choosing the correct settings on the intraoral scanner. Most scanners offer multiple modes for different types of treatment, and these modes influence scan quality and the level of detail captured.
Scanning a single-unit restoration typically requires a smaller field, whereas a full arch digital case benefits from extended coverage. When using major intraoral scanners such as 3shape Trios or similar systems, selecting the right preset improves impression accuracy and ensures the laboratory receives data that requires minimal adjustment.
Teams should review the manufacturer’s guidance for each scanner model. Even within the same brand, the difference between standard and high-resolution modes can change the amount of detail captured. High-resolution scans are often preferred for complex margins, but they can result in larger digital files. Balancing detail with efficiency is an important consideration.
Adjusting resolution and capturing detail
Digital impressions depend heavily on resolution. A scanner with incorrect settings may struggle to capture fine margins or interproximal spaces. Resolution can be adjusted inside the scanner interface, often from a menu on the main screen.
Practices should adopt a standard operating procedure for resolution, ensuring every user follows the same steps. High detail modes are helpful for complex preparations, while routine checks or orthodontic records may not require the same level of data density.
Before initiating the scan, operators should confirm the calibration status. Most scanners display a notification in the top right corner of the interface when calibration is due. Regular calibration ensures accurate measurements and supports a reliable workflow when transferring digital files to the lab.
Preparing the patient and operatory
Ensuring proper moisture control
Moisture management impacts scan quality dramatically. Saliva, blood and reflective surfaces can disrupt the scanner’s ability to register detail. Before beginning the scan, assistants can help by using cotton rolls, suction and cheek retractors to reduce contamination.
Good preparation minimises voids and distortion, reducing the need for digital touch-up later. Patients may need reassurance if the process requires additional drying or isolation steps. Simple explanations help them understand that these steps contribute to more accurate impressions.
Moisture control also helps the scanner maintain a stable connection with the tooth surfaces. Dry fields produce sharp detail around margins and occlusal anatomy, providing the laboratory with a solid foundation for the final model.
Positioning the patient for optimal visibility
The positions of both the patient and the operator influence the data captured. A slight adjustment of the chair can make a noticeable difference. For example, reclining the patient allows a clearer line of sight to posterior regions, improving access for the scanner.
Operators need to maintain steady hand movement and follow a smooth pathway. Sudden shifts can cause data gaps, making the practice team spend extra time filling missing areas during review.
Using a consistent seating arrangement also helps new staff learn the process, supporting reliable scanning throughout the practice.
Capturing accurate digital impressions
Recommended scanning pathways
A structured scanning pathway leads to consistent results. Most scanners include guidance in their interface, showing a preferred direction or arrow to follow. This helps maintain complete registration across the arch.
For full-arch intraoral scans, start from the occlusal surfaces, proceed to the lingual areas, and finish on the buccal side. This pattern usually ensures complete coverage, accurate contact points and minimal distortion.
Following a predictable pathway helps when reviewing the digital case later, making it easier to identify missed areas. The more consistent the workflow, the easier it is for the laboratory to produce precise restorations.
Avoiding common scanning artefacts
Common artefacts include stitching errors, double images and missing segments. These often arise from moving too quickly, allowing the scanner to drift too far from the surface, or scanning over shiny areas.
Operators should move the scanner slowly and maintain a consistent distance from the teeth. If an artefact appears, it is better to pause, rotate the scanner slightly and capture the area again rather than continuing and hoping the software will correct it automatically.
Practices should periodically review their scans for quality assurance. Comparing digital scans with traditional impressions or plaster models can help identify if any technique improvements are required.
Verifying and cleaning up the scan data
Checking margins and contact areas
Once the scan is complete, the operator should verify the details shown on the review page. Margins need to be clearly marked and free from distortions. Many systems display distinct colour mapping to highlight areas that require refinement.
Missing or blurred margins will affect the final restoration. If any part of the preparation is unclear, it is better to rescan that section immediately. This ensures the lab receives accurate impressions and reduces the chance of adjustments later.
Contact points and occlusion should also be inspected. Clear contacts help the laboratory design restorations that seat correctly without needing chair-side modifications.
Removing excess or distorted data
After verifying the scan, remove excess soft tissue data or distortions. Most scanners include editing tools that allow operators to trim unwanted areas. Careful trimming results in smaller, cleaner digital files that are easier to upload and transfer.
It is important not to remove key anatomical structures. These landmarks help the lab orientate the model and maintain proper alignment throughout the process.
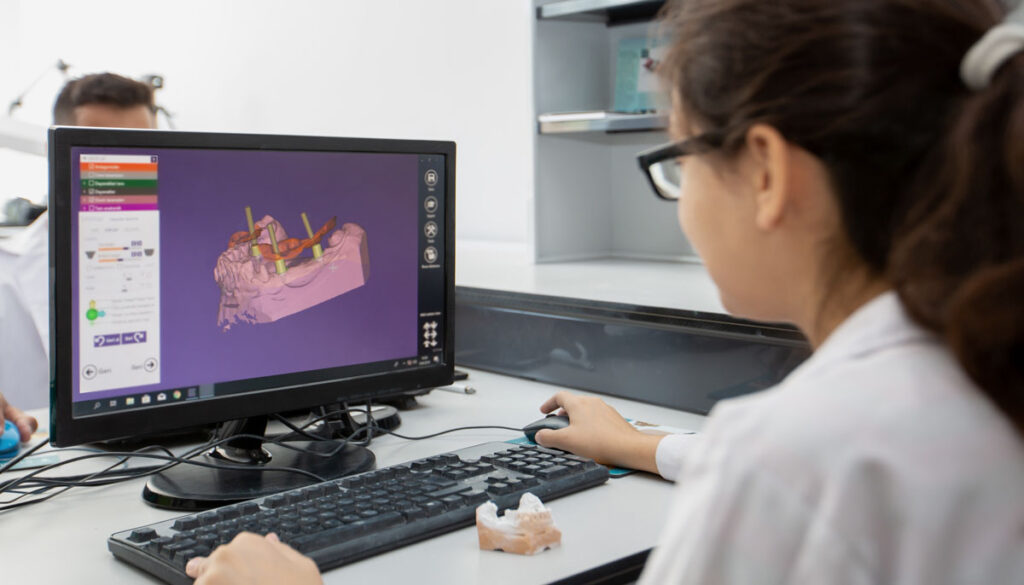
Using consistent editing techniques supports seamless integration with the laboratory CAD workflow. It also ensures the lab receives a streamlined file ready for design.
Exporting and formatting the scan files
Choosing the correct file type (STL, PLY, OBJ)
Before sending scans to dental lab systems, the digital files must be exported in an appropriate format. STL is the most widely supported format, providing compatibility across most scanners and dental labs in the UK.
PLY files offer colour information, which can help with tissue assessment, while OBJ files include texture mapping. If the laboratory requires a specific format, the practice should confirm before exporting.
The export option is usually found in the scanner software, often in a menu located near the top right corner. Operators simply select the case, click export and choose the required format. Ensuring the correct file type reduces delays and enables smooth collaboration.
Ensuring compatibility with your dental lab
Every dental laboratory uses slightly different digital workflows. Some accept only certain formats, while others require additional digital files such as bite registrations or photographs.
Establishing clear communication with the lab helps streamline the process. Practices should confirm requirements during initial registration with a new lab partner. This helps prevent the need to resend files or adjust settings later.
Maintaining a simple checklist helps the team verify that all necessary components are included before upload. This reduces errors and ensures the lab receives complete and accurate information the first time.
Providing essential case information to the lab
Including prescription details and clinical notes
A digital impression alone is not enough. The laboratory needs clinical notes, treatment goals and specific instructions. Most scanner platforms include a page where dentists can fill in prescription details.
Notes should include margin preferences, material selection, shade information and any relevant photographs. Complete information allows the laboratory team to proceed confidently and reduces the risk of miscommunication.
Accurate notes also help when reviewing the case later. If an issue arises, both the practice and the lab can refer back to the digital record stored within the system.
Attaching reference images or shade information
Including photographs can make a significant difference. Shade tabs, close-up images and references of neighbouring teeth help the laboratory create a restoration that blends naturally with the patient’s smile.
Some platforms allow direct upload from the practice camera, while others require images to be transferred manually before attaching them to the digital case.
Images also help the laboratory assess soft tissue levels, emergence profiles, and the general condition of the surrounding teeth. This extra detail enhances the accuracy of the final model and improves communication between the practice and the lab.
Transmitting the scan securely and efficiently
Using approved digital portals or communication platforms
The final step is to send the digital files to the lab via a secure upload system. Most scanners integrate with online portals where dentists can log in to an account, select the case, and click the send button.
Some platforms display a send files option or an accepted click icon to confirm the transfer. Selecting the correct laboratory from the list ensures that the files are sent to the intended partner. If needed, the practice can use the search bar to locate the correct lab and proceed with the upload.
Many systems provide the status of each case, so the team can track whether the laboratory has received the file. If a connection issue occurs, refreshing the page or checking the network settings can resolve the matter quickly.
For practices still adjusting to digital workflows, the difference from traditional impressions can feel significant, but the speed and reliability of upload systems soon become familiar. Digital transfer removes the risks associated with physical impressions, such as distortion or loss during transit.
Confirming receipt and addressing any queries promptly
Once the case is submitted, the laboratory will typically acknowledge receipt. In some systems, a notification appears within the platform, while others send an email to the practice team. The practice should verify that all files have transferred correctly and that the laboratory can access the full digital case.
If the lab requires clarification, a prompt response prevents delays in treatment. Good communication strengthens the partnership between dentists and laboratory technicians, helping both teams deliver efficient care.
Practices should also keep a record of completed cases. Many systems allow operators to log into their IOS platform and review previous scans, providing a helpful reference if similar cases arise in the future.
Maintaining strong communication habits ensures smooth collaboration. When both sides connect well and share accurate information, the result benefits the patient and supports reliable outcomes across the entire digital dentistry workflow.
GoDigital Dental: a dental lab built for the future
At GoDigital Dental, we are committed to helping practices move confidently into digital dentistry. Our workflows are built around accurate digital impressions and efficient intraoral scanning, enabling us to produce restorations consistently and quickly. By combining advanced CAD/CAM technology with an experienced laboratory team, we turn your digital files into precise, reliable results for your patients.
For practices that are new to scanning, our Digital Dental Partnership makes the transition easy. We can loan an intraoral scanner, and we provide full support so your team can learn the process quickly. This gives you the freedom to explore digital workflows while sending scans directly to our laboratory.
By partnering with GoDigital Dental, you benefit from smooth communication, reduced chair time and a more efficient workflow from scan to final restoration. We are here to support your journey into digital dentistry and to ensure your patients receive accurate, modern and dependable treatment.
FAQs
Are digital impressions more accurate than traditional impressions?
Digital impressions are often more accurate than traditional impressions because they capture detailed information directly from the teeth without relying on materials that can distort. An intraoral scanner records thousands of data points quickly, which helps reduce errors that may appear when using trays and impression materials. This makes the results more reliable.
Traditional methods can still work well, but they depend on proper mixing, timing and patient comfort, which can affect the final outcome. Digital scans avoid many of these issues by capturing an image immediately, allowing dental teams to review the data and confirm accuracy during the appointment.
Which procedures can digital impressions be used for?
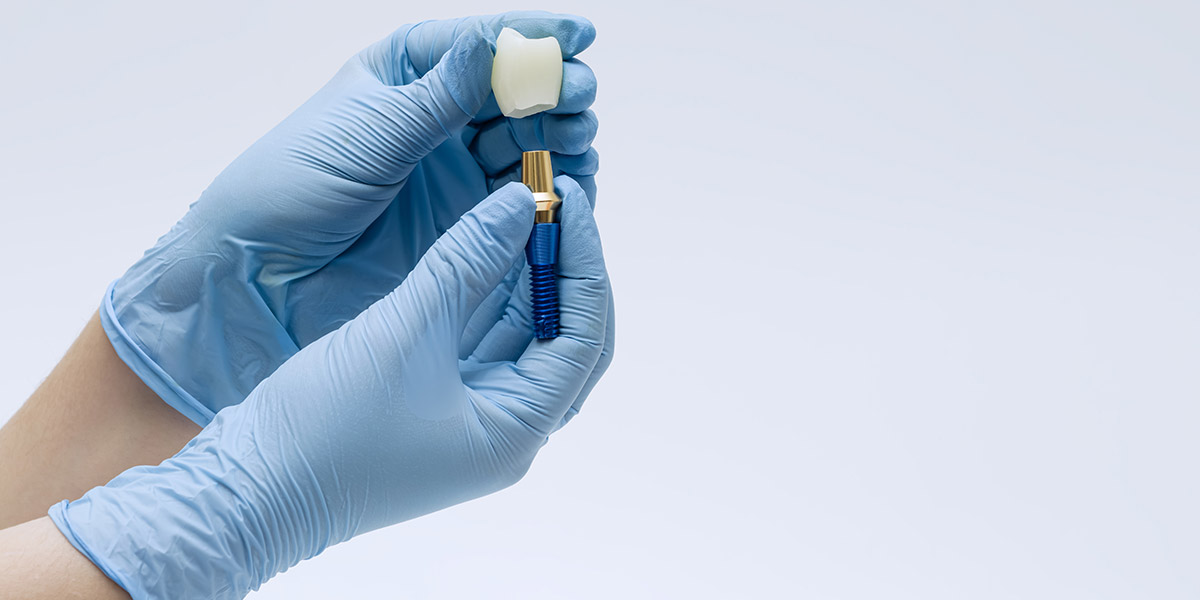
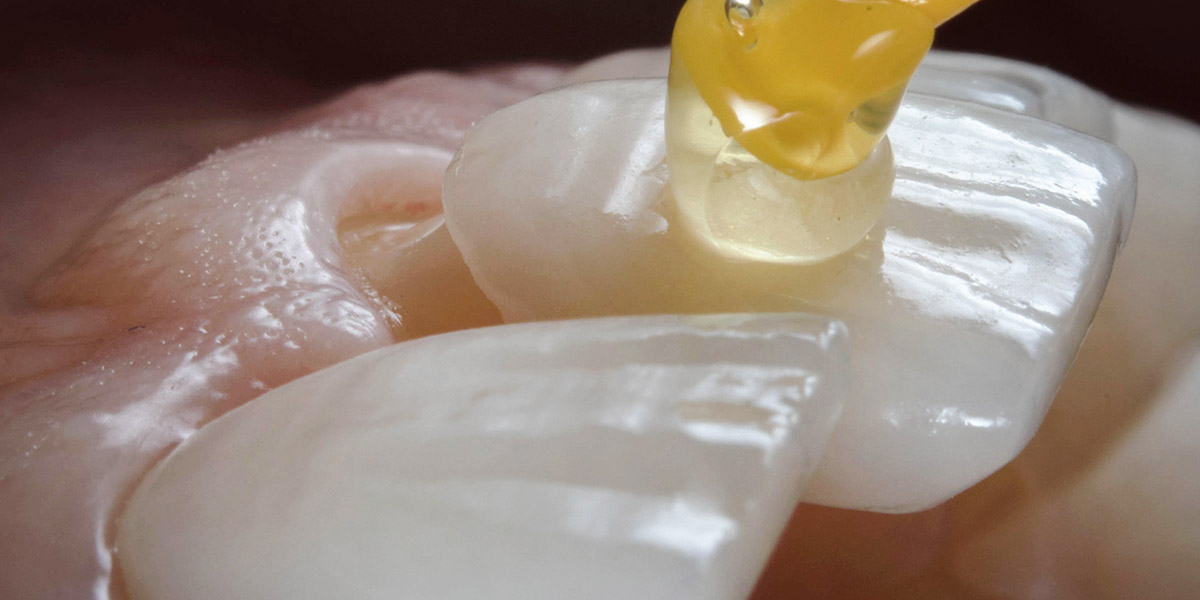
Digital impressions can be used for many common dental procedures. They are suitable for crowns, bridges, veneers and inlays because the scanner captures detailed images of prepared teeth. Dentists also use digital scans for implants, as they help record the position of the implant and surrounding tissues. Orthodontic treatments also benefit from clear digital records.
Digital impressions are also useful for dentures, bite registrations and monitoring wear over time. They allow dentists to track changes accurately and plan treatment with greater confidence. Because scans are quick and comfortable, they can be used in routine appointments without causing stress for patients.
How long does a digital scan take?
The length of a digital scan depends on the type of procedure and the area being scanned. A single tooth or small area can usually be scanned in a few minutes. Full arch scans, which cover all upper or lower teeth, generally take longer but are often completed within ten minutes. Most scanners guide the operator to follow a clear path, which helps speed up the process and ensures complete registration.
Preparation and patient cooperation can also affect the time. Keeping the mouth dry still allows the scanner to capture accurate digital impressions quickly, reducing the need for rescans and making appointments more efficient.
Are digital impressions cost-effective for a practice to adopt?
Digital impressions can be cost-effective for a practice to adopt because they reduce the need for remakes and adjustments. Inaccurate traditional impressions can lead to additional appointments, material waste and longer chair time, which all increase costs. With a digital scanner, most scans are accurate first time, helping the practice save both time and money.
Although the initial investment in an intraoral scanner may seem high, the long-term benefits often outweigh the cost. Digital workflows streamline communication with dental labs, allow faster case submission and improve efficiency, making it easier for practices to manage multiple patients and treatments effectively.
What are the common problems or limitations of digital impressions?
Common problems with digital impressions include difficulty capturing areas that are hard to reach, such as deep cavities or tight spaces between teeth. Moisture, saliva and blood can also affect scan quality, leading to incomplete or distorted digital files. Operators may need to refresh or rescan parts of the mouth to ensure complete registration.
Limitations also include the initial cost of a scanner and the need for staff training. Some patients may find it difficult to keep still during scanning, and very complex cases may still require traditional impressions. Despite this, careful technique usually minimises these issues.
Why aren’t all dentists using digital impressions yet?
Not all dentists are using digital impressions yet because the initial cost of an intraoral scanner can be high. Practices may also need time to train staff and adjust their workflow to include digital scanning. Some dentists are comfortable with traditional impressions and do not feel an urgent need to switch.
Other reasons include concerns about learning new software or integrating digital scans with dental labs. Some scanners may not suit every treatment type, and practices may prefer to continue using methods they know well. Over time, more dentists are adopting digital impressions as technology becomes easier and more cost-effective.
How secure is patient data from digital impressions?
Patient data from digital impressions is generally very secure when proper systems are used. Digital files are stored on encrypted platforms, which prevent unauthorised access. Access to these files is usually controlled through secure logins, so only authorised dental staff and laboratory teams can view them.
When scans are transferred to dental labs, secure portals and approved communication platforms are used. This helps protect sensitive patient information during upload and transfer. Regular software updates and password protection further reduce risks. Following these security measures ensures that digital impressions remain private and compliant with UK data protection standards.
What is the learning curve for staff, and how long does it take to become proficient?
The learning curve for staff using digital impressions is generally manageable, but it varies depending on prior experience. Staff need to learn how to operate the intraoral scanner, follow the recommended scanning pathways, and ensure complete registration for accurate digital impressions. Initial training usually includes hands-on practice with guidance from experienced users or support from the scanner provider.
Most staff become proficient after a few weeks of regular use. With consistent practice, they can capture scans efficiently, review digital files, and prepare them for upload to the laboratory. Confidence and speed improve as the team gains experience.
How do I ensure I capture clear margins, especially subgingivally or in hard-to-reach posterior areas?
To capture clear margins, especially subgingivally or in hard-to-reach posterior areas, it is important to control moisture and soft tissue. Use suction, cotton rolls and retractors to keep the area dry and expose the margin fully. Proper patient positioning and chair adjustment improve visibility and access for the scanner.
Following the recommended scanning pathway helps ensure complete registration. Move the scanner slowly and maintain a consistent distance from the tooth surface. If any areas appear unclear on the review screen, pause and rescan that section. Careful technique reduces artefacts and ensures the laboratory receives accurate digital impressions.
What kind of technical support, warranty, and long-term service is provided after I buy a digital scanner?
After purchasing a digital scanner, most suppliers provide technical support to help with setup, software updates, and troubleshooting. Support may be available by phone, email, or through online portals. Staff can access guidance on scanning techniques, export settings, and common issues to ensure digital impressions are accurate and complete.
Scanners usually come with a warranty that covers hardware faults for a set period, often one to two years. Long-term service options may include software updates, calibration checks, repairs, and replacement parts. Regular maintenance and access to support help practices keep scanners reliable and ensure efficient digital workflows.